Every woman dreams of beautiful long natural nails. But not everyone, for various reasons, can afford it. To help comes the build-up of nails, so popular in our time.
What it is
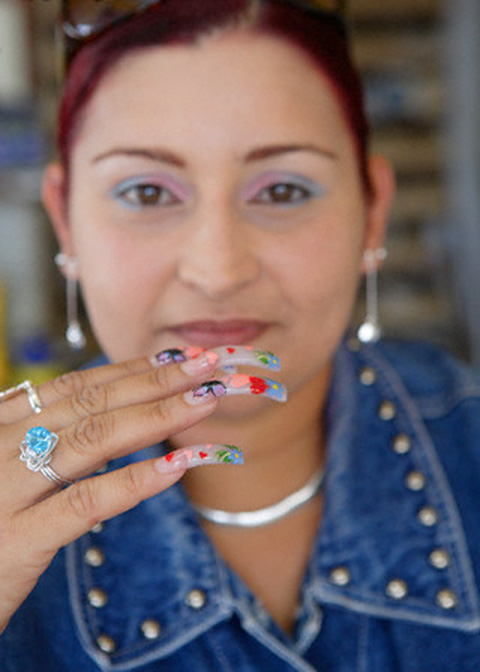
You can perform the "aquarium" with both gel and acrylic. This procedure is very complicated and requires the skills of the master both technical and design. Therefore, the cost of the 'njq procedure is not low, but the result is worth it. The essence of the procedure is not only to build nails, but also to create a unique design? which must be closed so that the effect of the glass aquarium is obtained. Design can be different, starting with a jacket and ending with unimaginable curls.
Technology execution
We will not fully describe how the aquarium build-up is going on, just describe the most basic points.
- The very first thing to do is to conduct a quality manicure. Before the procedure, hands and nails are well washed using antiseptics and dried. Then cut the edge of the nail, giving it a semi-circle shape and saw it so that the tip protrudes no more than 1 mm. This facilitates the easy establishment of a form for building up aquarium nails. In this case, the cuticle is shifted or completely removed, depending on which manicure you prefer. The surface of the nail is degreased well. But you must follow one rule: you can not use liquid for this. In extreme cases, after using them, the nails must be carefully dried. The top layer of the nail is additionally degreased by means of a nail file with fine abrasive applied on it or a special machine is used. It is important not to overdo it and remove only the top layer of the nail with a greasy shiny surface. The top layer is removed in order that the gel nail is well "glued" to the natural.
- The primer is applied - it is a preparation that not only degreases the nail, but also serves as a kind of "glue" between the fingernail and the gel. Usually the primer is made with acids. The primer should dry completely.
- Then apply a thin layer of UV-primer gel, which strengthens the adhesion force and is held under a UV lamp for 1-3 minutes.
- After the above procedures, you need to set the nail shape, which will be used to build nail gel.
- They begin to build up. Apply a layer of gel in two stages. At the first stage, apply a sculptural layer of gel and form the tip and length of the nail on the mold. Dry 3 minutes under a UV lamp. After this, a layer of gel with an openwork pattern is applied to the first layer. In this case, leave unpainted gel areas. As an option, you can use designer foil in small pieces and apply a stick to the tip of the nail, creating the desired design. Then proceed to the second stage and apply a forming layer of a transparent gel to the entire nail, while creating all the necessary bends and arches, identical to natural ones. Dry the gel under the lamp for 3 minutes. The result is that the pattern is placed between the layers, and the nails look as if they are glass with a pattern inside. The gel layers can be several, depending on the technology of the build-up. But after the first layer, when a thin substrate is formed, you can already remove the forms and work without them.
- After drying with antiseptic, remove the sticky layer that formed under the influence of UV rays. You can use simple alcohol.
- A nail file is given to the nails with the desired shape.
- Apply a special liquid UV gel, which does not leave a sticky layer under the influence of UV rays. This gel allows you to firmly fix the gel nail, hide the roughness and give the nails shine. After applying the hand, hold the lamp for 3 minutes.
- The final stroke is the application of oil to the cuticle.