Fine corrugated paper - an indispensable material for handicrafts. The paper cloth is well impregnated with any clerical glue, it is easily twisted, bent and cut. That is why New Year decorations in the form of a Christmas tree made of corrugated paper are so popular. Following simple prompts, you can make any Christmas tree from corrugated paper from our article.
Christmas tree made of corrugated paper in a pot - step by step instruction
Voluminous souvenir Christmas trees are often given on the eve of the New Year or Christmas. Such a Christmas tree made of corrugated paper can be placed on the desktop or shelf under the TV. It is a unique decor, which everyone can make from simple and inexpensive materials. An ordinary cap from under the old foam for shaving or deodorant will serve as a miniature pot for a toy spruce.
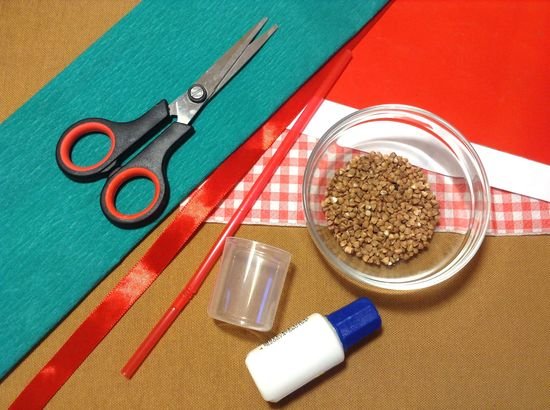
Necessary materials:
- Corrugated paper of green color - 20 x 40 cm
- sheet of white paper A4
- a sheet of red cardboard
- bright paper napkin in red tones
- buckwheat (or other cereals) - 2 tbsp. l.
- cap for deodorant
- PVA glue
- scissors
- disposable red drink tube
- red satin ribbon 1 cm wide - 10 cm.
Step-by-step instruction:
- Cut the corner of the paper in a smooth semicircle. This will be the basis for the cone.
- Cut the corrugated paper with 2.5 cm thick strips.
- On each green strip, make small cuts that will help to align the tiers of the Christmas tree in the form of a skirt.
- From the white workpiece, glue the cone. Wait until the substrate dries. Glue the green strips with tiers starting from the very bottom of the base. In the places of cuts, make small assemblies to make the product volume. At the top, fold a thin tube and bend it on one side to give the herringbone from corrugated paper a more cheerful kind.
- Cover the deodorant cap with a piece of bright napkin and fill with buckwheat. Cut out circles of different sizes from red cardboard. From the tape tie a neat little bow for the top.
- Glue the red "balls" in random order. Bend the bow at the top of the tree. Insert a red tube into the pot and put a cone on top. If desired, a three-dimensional Christmas tree made of corrugated paper can be attached to the tube with a drop of silicone glue.
Christmas tree of corrugated paper for postcards - step by step instruction
Postcards with their own hands are valued much higher than purchased analogues. You can make a card for the New Year using the technique of creating a Christmas tree from corrugated paper. Then the prepared greeting card can be signed, supplemented with wishes, decorations, ribbons or decorate.
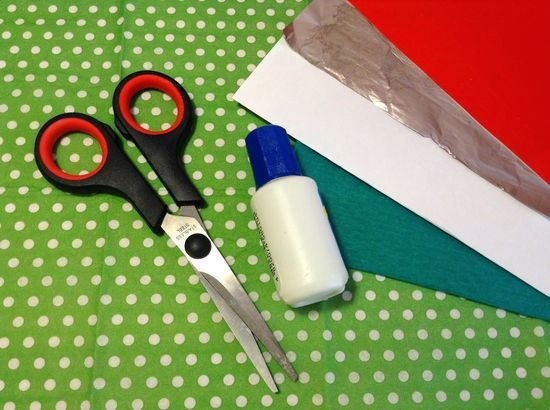
Necessary materials:
- Corrugated paper of green color - 10 x 15 cm
- sheet of thick white paper or thin A4 cardboard
- piece of red cardboard - 5 x 5 cm
- piece of foil - 10 x 10 cm
- PVA glue
- scissors
Step-by-step instruction:
- Cut green corrugated paper in strips of 1.5 cm. Fold a white sheet (or cardboard) in half with a book.
- Cut each strip into 4 equal rectangles. From these blanks, form "petals". Piece of strip twist in the center, and then bend in half.
- Glue the blanks to the front of the postcard. You can use a different number of parts, depending on the desired size of the tree.
- From the pieces of foil roll the balls. Cut the star out of red cardboard. Glue these blanks on a prepared herringbone of corrugated paper.
- Now you can decorate the card around the corrugated Christmas tree at your discretion. Best for this purpose are suitable tapes, soft textiles, beads and foil.
Christmas tree made of corrugated paper for home - step by step instruction
On the eve of the New Year's holidays decorations on the loops are usually hung on doors, pens, hooks or on a live Christmas tree. Herringbone made of corrugated paper can be made in a matter of minutes. For the base, take an old cardboard box from under shoes or household appliances. A ball of foil will easily replace the beads and beads.
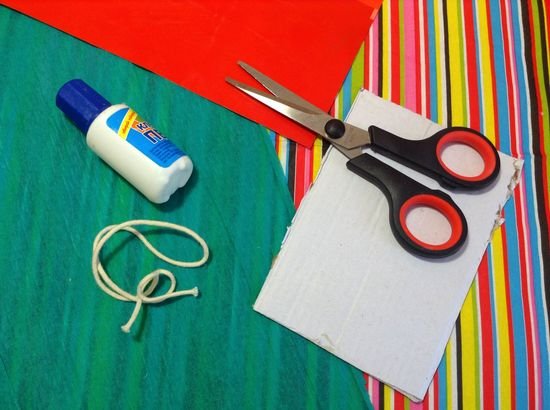
Necessary materials:
- Corrugated paper green - 10 x 20 cm
- Lace or thin twine twine - 12 cm
- a sheet of red cardboard or paper
- piece of cardboard
- PVA glue
- scissors
Step-by-step instruction:
- Cut out a small triangular piece of cardboard.
- Cut the corrugated paper with strips 2 cm thick. Make thick small incisions up to the middle of the width of each strip.
- Cover the cardboard triangle with strips of corrugated paper, as shown in the photo. Start from the bottom.
- Fasten the rope loop on the top of the tree with additional tiers.
- Cut red stars and stars out of red cardboard. Glue them on both sides of the decorative product.
- Wait until the finished herringbone is well dried before hanging the decor behind the eyelet.