Apron - an indispensable accessory, for those who want to look beautiful, even when doing household chores. It is also used in its work by hairdressers and make-up artists. It performs a protective function and protects our clothes from getting stains, which are then difficult to remove. In addition, in an apron it is convenient to wash dishes and do other household chores. Sewing an apron is very easy even for those who are not at all familiar with the sewing machine.
Material selection
For sewing an apron, it is best to use cotton, satin, flax and even glued material. The material is not necessary to buy a new one, you can sew from scraps of old cloth or use a worn favorite robe or old curtains. And if there is a desire and time you can tinker and sshityarky apron from the shreds. You can show your imagination and perform an apron in any cloth. Here the main thing to remember is that the apron should perform a protective function and better choose a dense fabric and ready for frequent washing. The fabric should not sit down after washing. And if you like to fool around in the kitchen, you can sew an openwork apron of chiffon or other tulle fabric.
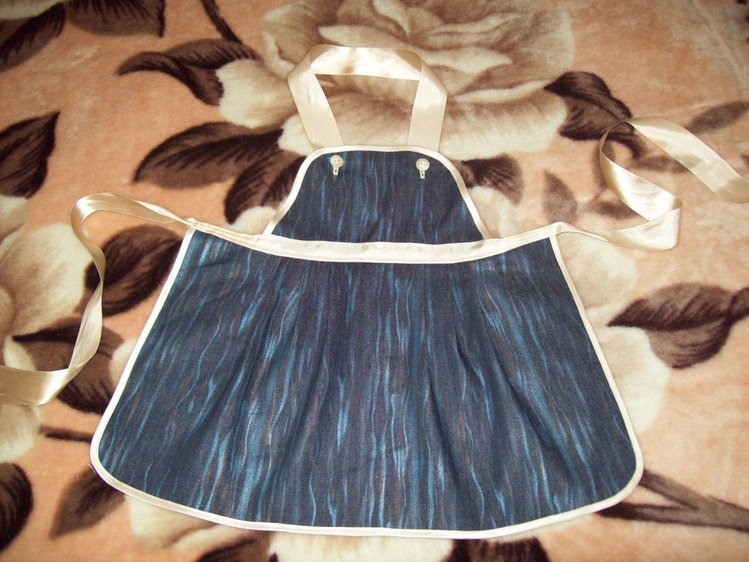
For lovers of extravagant things you can sew an apron of denim.
Choose a model
All aprons are sewn approximately equally. You can change the model a little at will, adding grooves, changing the length or the appearance of the hem, making it more tightened or just straight.
The apron model does not have to be a breastplate. "Breast" can be of different shapes: from straight and trapezoid, to round and even in the form of a heart. The style can be changed also by making it semi-circular, sunny or straight. For convenience, you can add a pocket on the breastpiece or apron.
The parts of the apron can be made with one-ply or sewn in the process. You can increase the surface of the apron cross-stitch-apron, which will not just tie at the back, but will do odor of the kimono and cover your back. This model of apron is more difficult in tailoring and requires the initial knowledge in cutting. In this article we will consider two options for sewing an apron: it is a holistic and sewn from two parts - a breastplate and an apron.
These are the simplest versions of an apron, which even a schoolboy can cope with. For the convenience it would be nice to make an apron sketch in its unfolded form, in advance to think through all the details and determine the size.
Take pictures and make a pattern
We measure our sizes
Breast line - it is more convenient to measure in underwear, it will be just at the level of the straps of the bodice. But it's possible to measure and approximately by eye, but this is an option for the brave.
The length to the waist is measured from the chest level to the level of the waist.
Waist circumference - measure the entire length of the waist and a drop of about 10 cm or more, but you can leave it untouched, but keep in mind that then the apron will be tied directly to the spinal cord. This length can be adjusted independently. Sometimes, for an apron, take the waist half-waist-the length of the waist, divided into two.
Length of the hem - here we measure the length of the ottalion to the desired length.
Edge processing can be done with a skewer or a simple fold.
The slanting beak is very easy to use, it is designed to handle the edges. You can buy it in shops with fittings. She has a large color gamut. Externally, she puts on satin.
If you decide to make a hem, then it is necessary to add 2-2.5 cm for the fold to the dimensions.
Pattern for the apron is optional. But if you decided to do it, then you can do it on old wallpaper or specially paper - tracing paper. It is possible to buy in stationery stores.
If you plan to make pockets, the best way is to calculate their sizes at this stage.
Schiemphartuke
Now everything is ready and you can transfer the dimensions to the fabric. Marking on fabric is best done with a special sewing soap, but you can use a simple pencil or a piece of toilet or farming. They write well on the fabric and are easily removed.
Fold the fabric in half and apply a drawing of the future apron. Grind both layers of fabric with pins along the line drawn. Raskroytetkan apron on this line. Remove the pins from the fabric. The base of the apron is ready!
At this stage you need to decide how you will decorate the apron. Think over the details. If you want to decorate the apron with lace, you need to sew it at this stage. As well as doing embroidery on pockets. In the future, this will make it more difficult.
Now it is necessary to sew an apron and sew pockets, if they are necessary. For convenience, you can gently walk through the sieve sewing, which would be sewing on the machine turned out more accurately.
Attach the apron to yourself, measure the amount of braid required for the garters around the neck and waistband. Sew them a piece.
If you make a separate apron, stitch all the parts together. The first to sew the pockets to the hem, then sew up with the bottom. Lastly, the belt is sewn.
We decorate the card
You can make an applique on your apron or embellish it with embroidery, beads or beads.
Be sure to wash and iron the apron when it is ready.