- Thick cardboard (it is better to cut out boxes from large appliances)
- Pencil
- Ruler
- Scissors
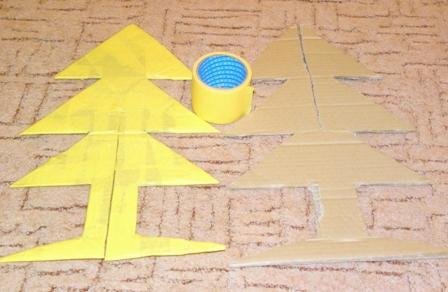
- Painting Scotch tape (bright yellow)
- Elements of decor (tinsel, Christmas balls, beads, beads, ribbons, serpentine - everything that you find or get us useful)
- Glue (Titanium or Moment)
- stapler
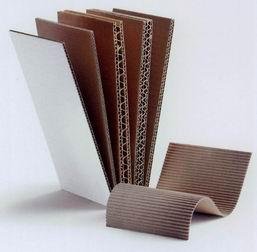
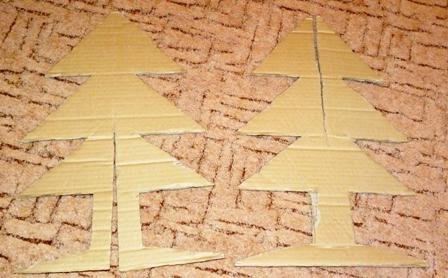
- We take a tight cardboard, we took from the box, which once bought a TV. To make the cardboard tight, you can glue 2 or 3 layers (if we take the usual cardboard). With the help of a ruler and a pencil we make outlines of our future Christmas tree (necessarily with a stand below, the stand should be equal in width to the largest row of needles (bottom row)). We drew our Christmas tree with 3 rows of needles, you can do more, cut out one piece. Then, on this stencil, we cut out exactly the same figure.
We got 2 identical spruce with supports. The height of our figure is 45 cm., You can do less or more, but do not overdo it with height. If the craft is too high, it will become unstable. After we cut out our figures, take again a ruler and a pencil. In the middle of the stand we begin to draw a strip (at 90 degrees from the stand) upwards. The strip should be equal to half the length of our figure (we get 22.5 cm). The same thing we do with the second carved fir tree, but we draw the strip starting from the crown, going straight down the middle, and stopping at 22.5 cm.
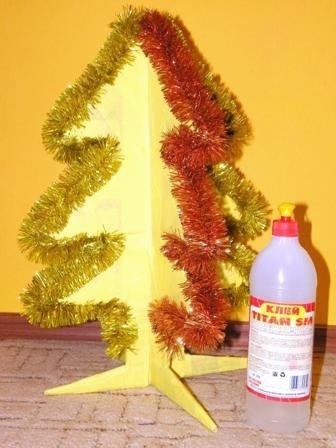
- Since our cardboard does not look attractive, we take a bright yellow paint tape, and glue our figures from two sides completely. You can use colored paper (green, red, yellow), it will take a little longer, but the Christmas tree will be more colorful. To use colored paper, we would need glue, but we chose a lighter and faster method. You show your imagination, glue any colorful material (magazines, newspaper, colored paper).
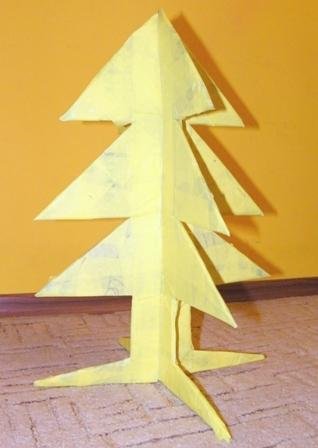
- After we finish wrapping the figures with scotch we move to the final stage of creating our New Year's symbol. We paste as a puzzle (a groove in a groove) two crafts in each other. It turned out a four-sided fir-tree.
- We take the tinsel or garlands and glue we have prepared. We begin to pass through each edge of glue and glue our jewelry. When all 4 sides of our beauty will be in tinsel, let the glue dry completely (you can tinsel the stapler).
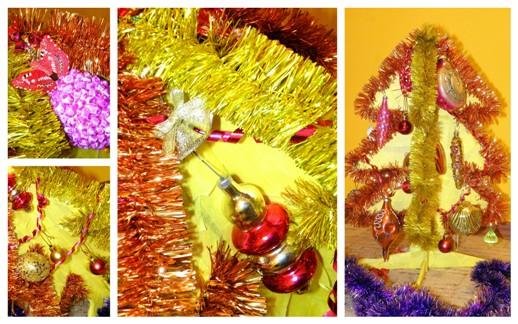
- We pass to the last, most interesting final stage. We hang on the Christmas tree toys on hooks, piercing our cardboard; glue the beads, we hang the serpentine. Attach maximum imagination and creativity, performing these actions.