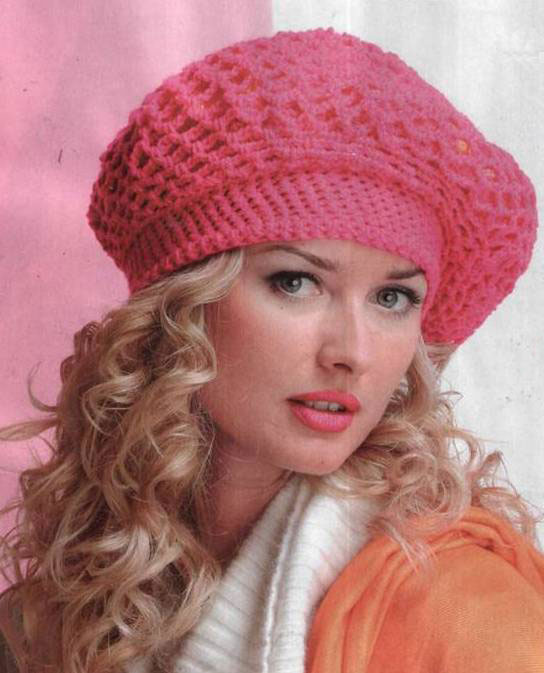
Beret is a versatile garment that can be worn in both autumn and spring. It fits well with worn jeans and a cocktail dress. Beret can be called a bright accessory, well complementing any style. You can tie it yourself, selecting a couple of hours of your time and 200 g of yarn.
There are several ways to tie the knitting needles. For example, it is knitted on five spokes, someone starts with a rim, someone with a crown. Some craftsmen prefer to knit in the transverse direction, others use a pattern of cross-knitted wedges.
The most popular ways of knitting berets are discussed in this article.
Method 1
This way it takes the knits from top to bottom. First you need to type 7 loops, considering the edge, and knit them according to the scheme:
The first row is knit - one cape with one face loop to the end of the row;
The second row (and, subsequently, all even rows) - nakidy are tied with crossed loops without creating fringes.
The third row is the same as the first.
Then all available loops are divided into 6 wedges, the boundaries between which should be marked with a red thread. In order to widen the wedge with the subsequent knitting, one cuff is made from both sides of the loops marked with a red thread as follows: through 1 row - 3 times and every 3 rows - 6 times. It is important that at the same time the bottom of the beret is always flat. As soon as the radius of the bottom of the beret is of the required length, another 3-4 cm is sewn without additional growth. Then, a reduction of 4 passes to the formed number of loops equal to the length of the circumference of the head, and then 5 cm to the rubber band.
Method 2
Another common way of knitting a beret is knitting on spokes corresponding to the number of wedges.
So, the needles are selected according to the number of future wedges, for example, 5 or 7. The number of loops needed for the calculation is typed, and the elastic band or the hem is tied around the face. Then, approximately 8 cm are matched with the pattern you like, and additions are made to give the beret a shape. Then another 6 cm knit without adding, and then proceed to unscrew the bottom with a decrease in three steps. And the remaining loops are tightened with a thread and fixed.
Method 3
For correct calculations, you must bind the loop test, determine the dimensions and calculate the density of the mating:
- 1 - length of the head circumference minus 1-2 cm - thus the number of loops is calculated for the beginning of knitting of the beret.
- 2 - length of beret circumference. It depends on how much you want to tie - this is the calculation of the maximum number of loops.
- 3 - radius of the circle, which is calculated from the circumference of the circle (2) using the formula: (3) = (2) / 6.28, where 6.28 is 2 * pi.
- 4 - value, corresponds to the difference between two radii of circles (1 and 2). Calculation of the radius of a circle along the circumference of the circle (1) is carried out in a similar way.
Calculations are made in centimeters, and then converted into rows and loops in accordance with the density.
It is believed that it is more convenient to knit berets on two spokes, but some like it in a circle. First, tying the loops according to the size (1), then a rubber band, 2-3-cm strap, is fastened with an elastic band, garter stitch or jacquard strip.
Next, the number of rows should be divided into 3 approximately equal parts. In the first part of the knitting, the number of loops is uniformly added, equal to the difference of two sizes - (1) and (2). You should add loops on every second or every fourth row. Avoid holes in the canvas, if you add loops as in the picture.
The second part is tied smoothly, and the rows in it should be smaller than in the first. The top of the beret - the last part - is divided into 6 identical parts. That is, if there are 120 loops on the spokes 120, then it is divided by 6 and the loops 1 and 2, 21 and 22, 41 and 42 are loosely joined together and thus up to 101 and 102. Without loosing, the wrong side is sewn together.
Next row: the loop, tied in the previous row of the two, knits together with the next. The number of decremented loops will remain unchanged, and the total number of loops will decrease constantly. When the loops will be half the size, reduce 12 loops, while the crown will be flat. The last 6 loops should be pulled together with one thread, sew a seam, wet the beret and allow to dry on a flat surface.