Photo of the most effective manicure ideas gel-varnish
This kind of manicure differs from the usual only by the technique of execution. In all the rest (meaning, design, drawings, ways of decorating your marigolds), there are no differences. With the help of gel-varnish it is possible to easily realize any idea in life as well as with usual varnish.
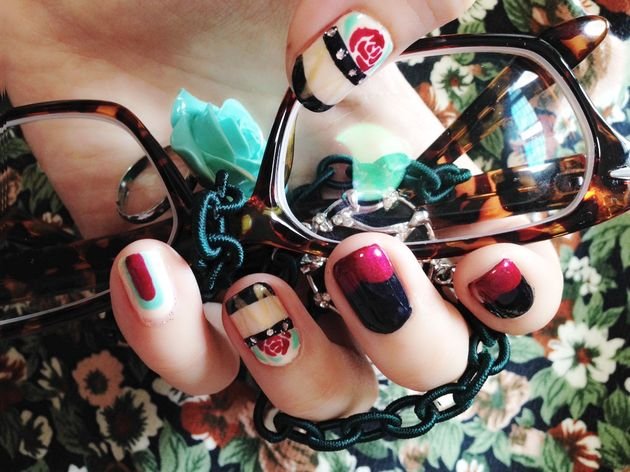
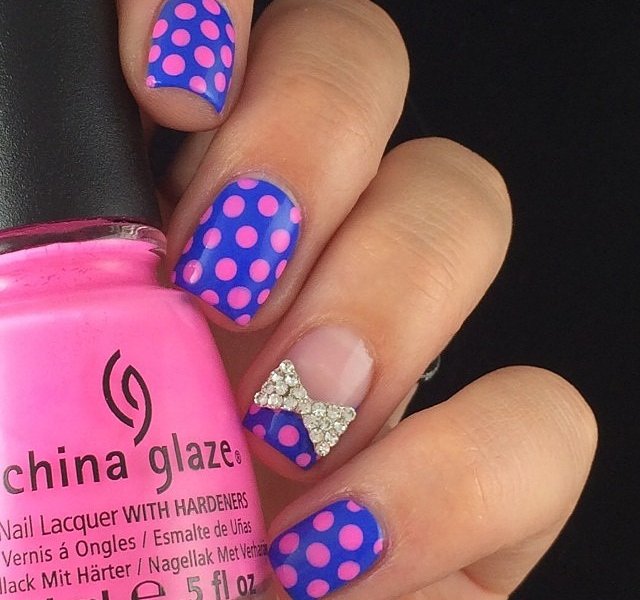
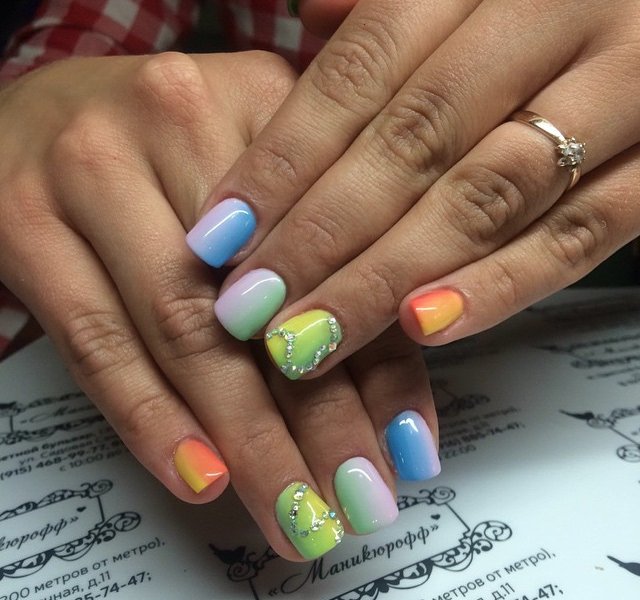
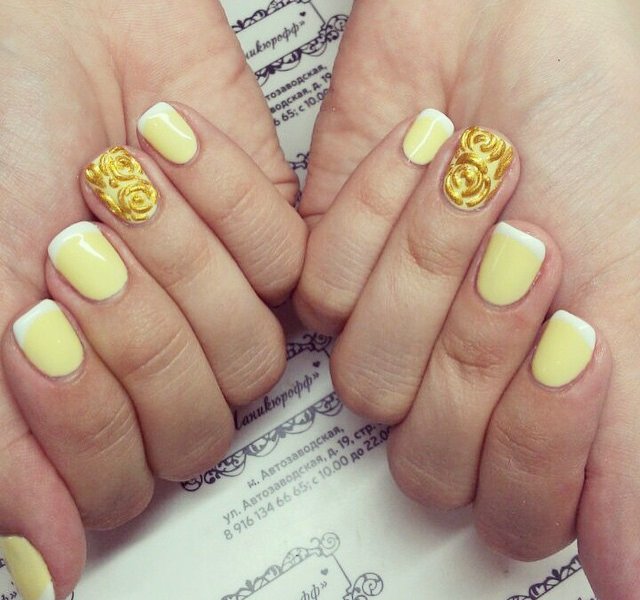
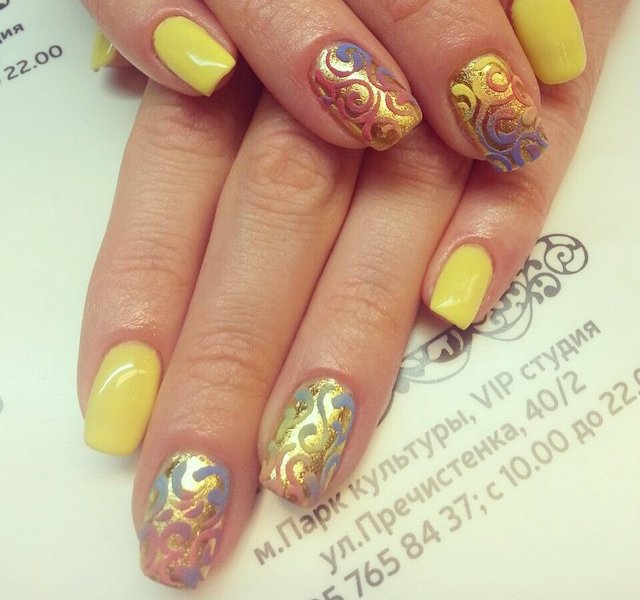
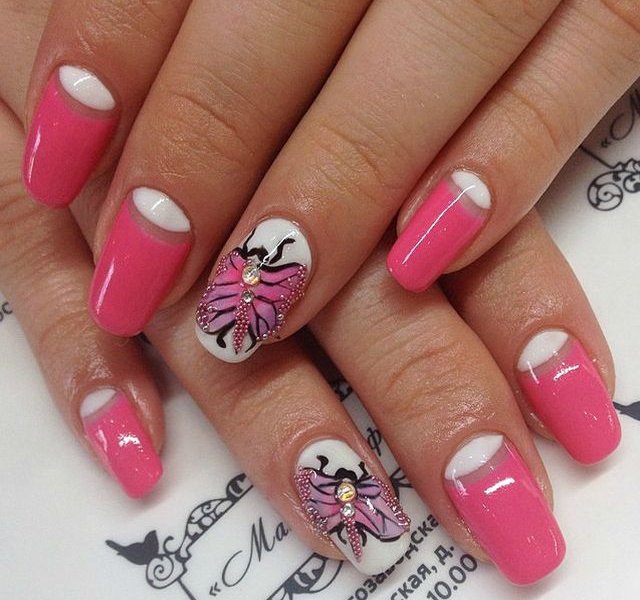
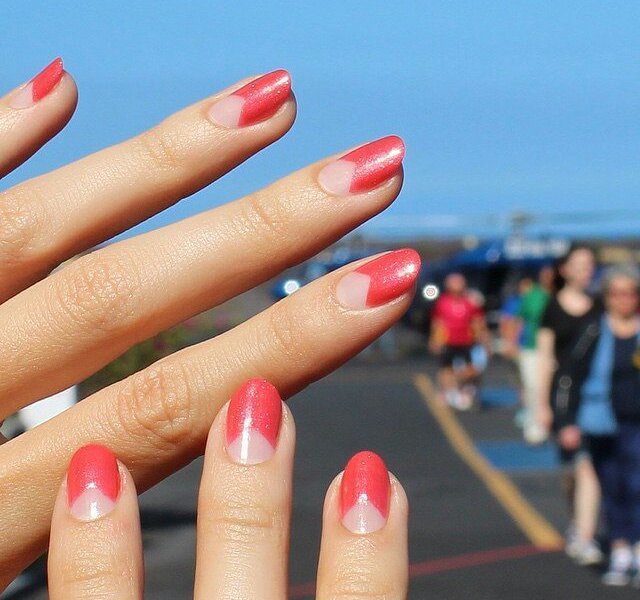
Bright manicure gel-varnish is suitable for special occasions: if you are going on vacation or in the next week, several parties are planned at once.
Tip: for a daily life, such a bright option is unlikely to be appropriate, because many jobs require an appropriate dress code. And the nails of screaming flowers certainly will not match.
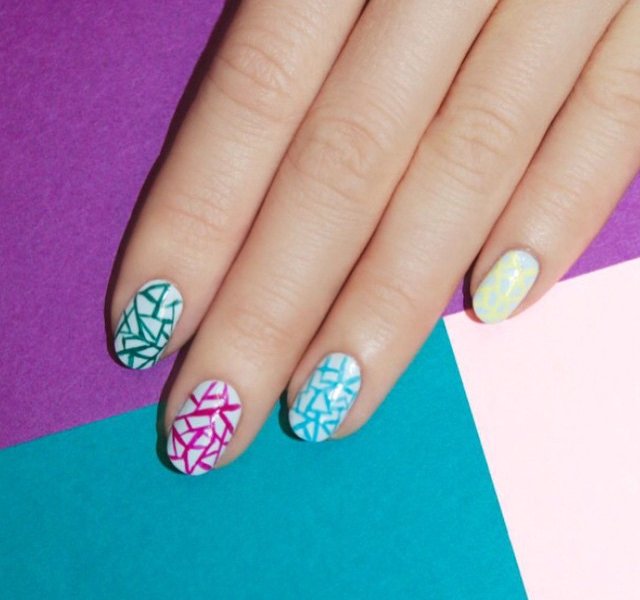
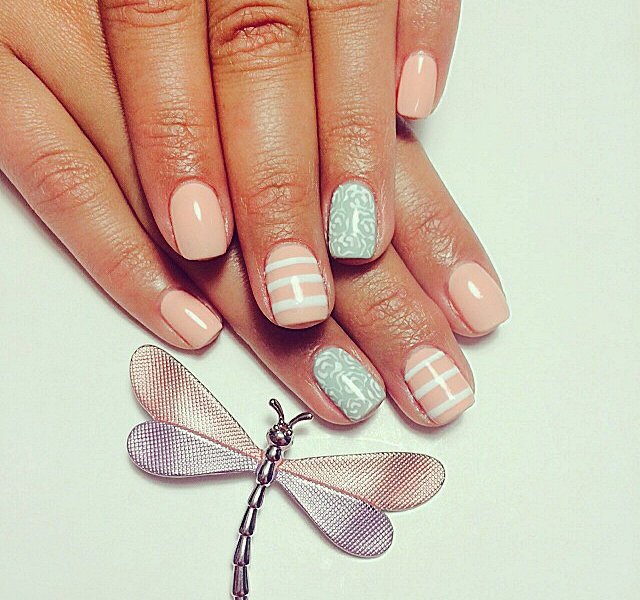
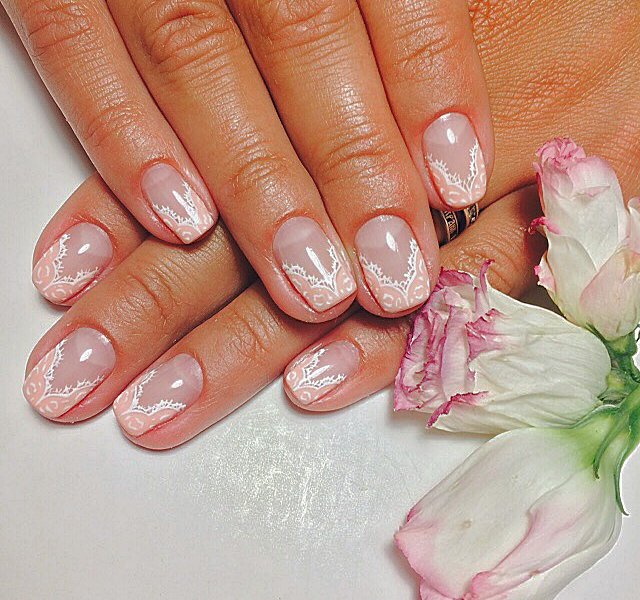
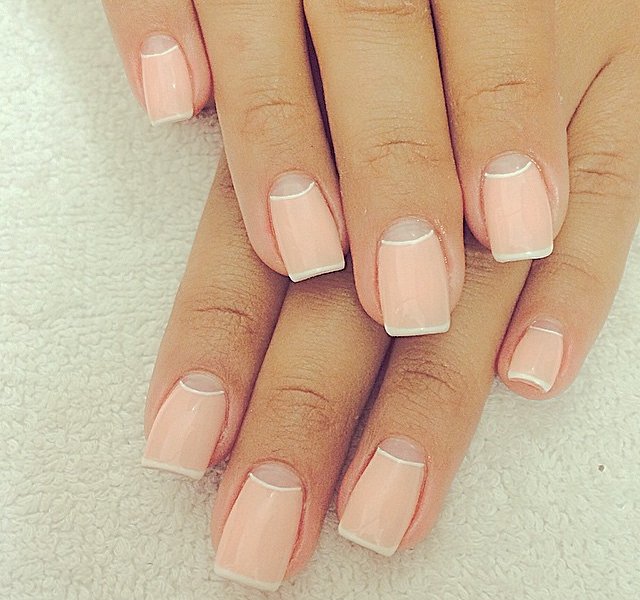
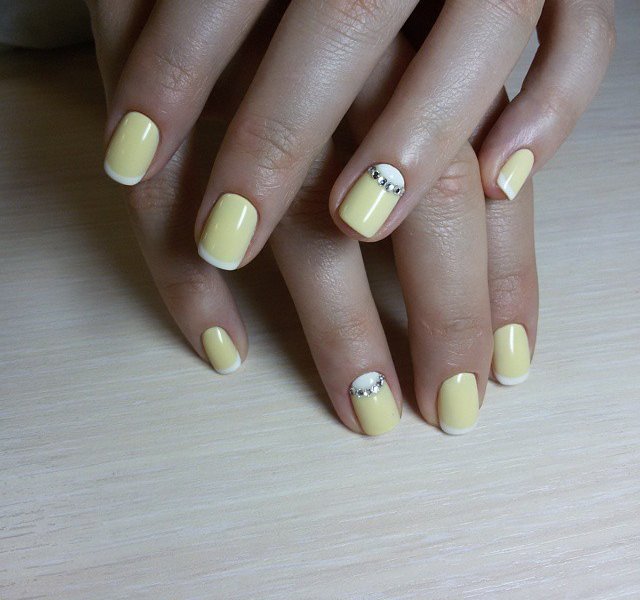
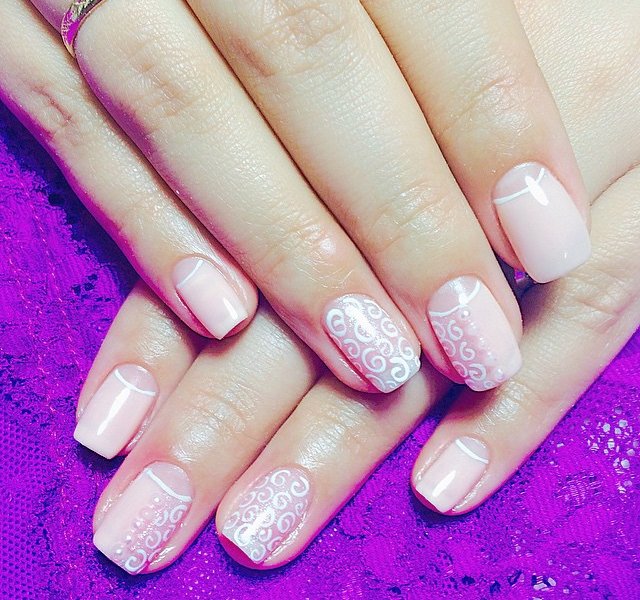
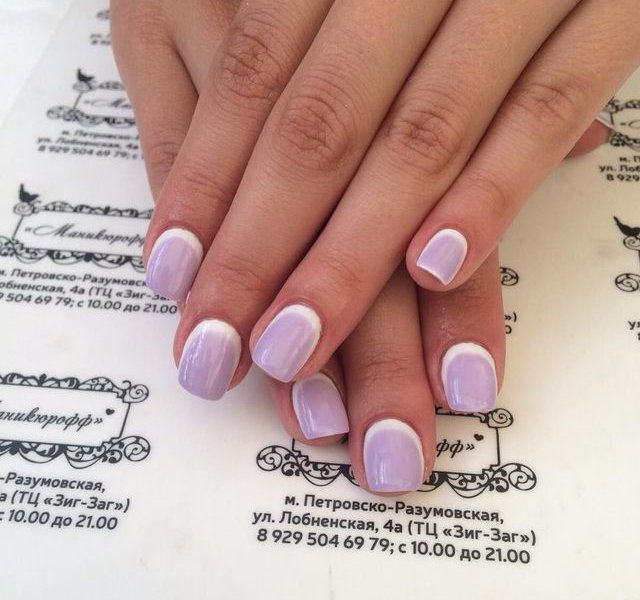
Delicate manicure gel-varnish is more universal. It will suit absolutely for any occasion and any outfits. Even if you are bright and noticeable, a refined manicure of light colors will serve for your image with the necessary balance.
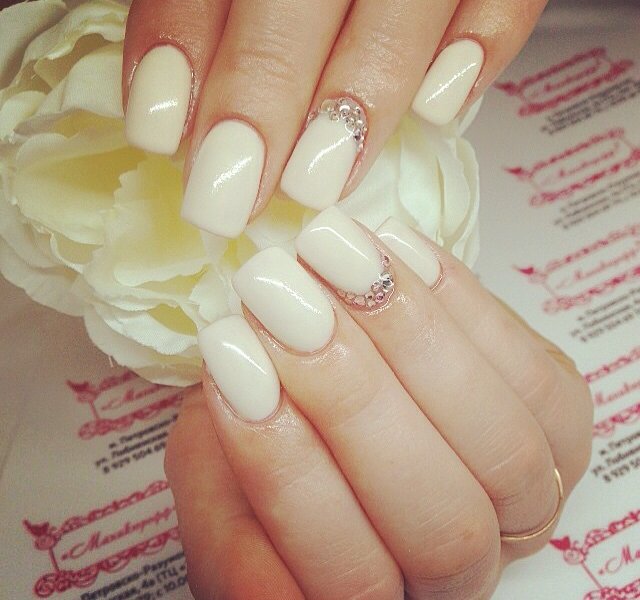
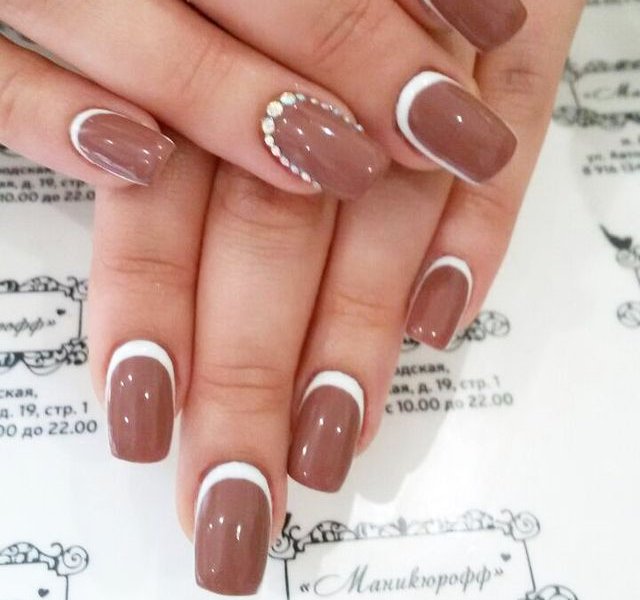
And if you decorate the bright varnish with rhinestones, you will shine at the party no less vividly than with the manicure of expressive, saturated colors.
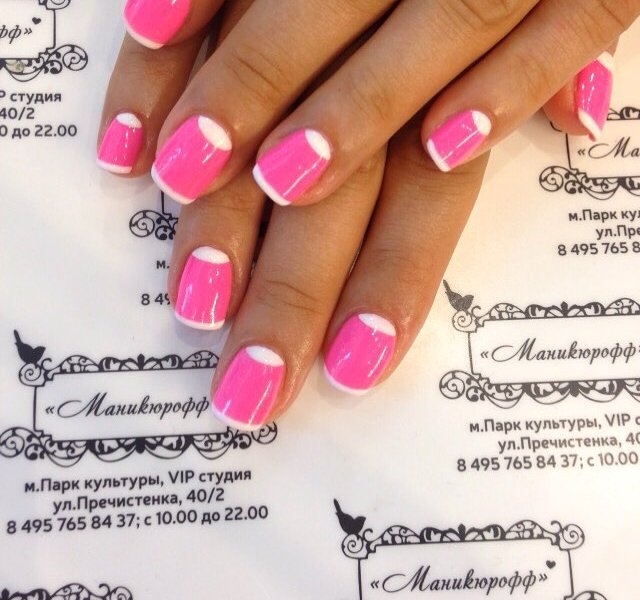
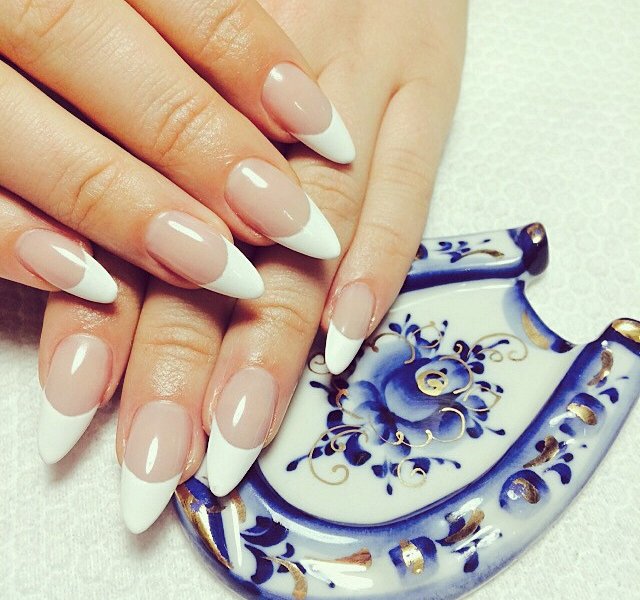
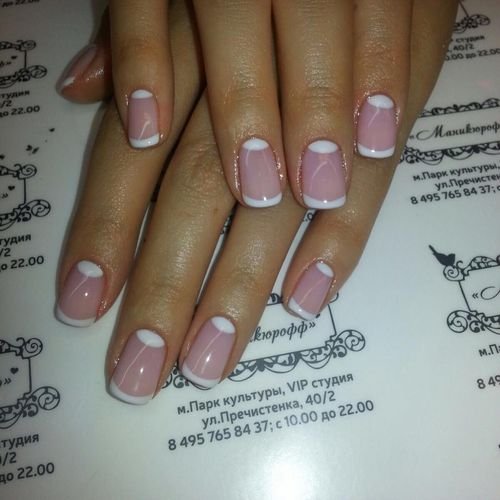
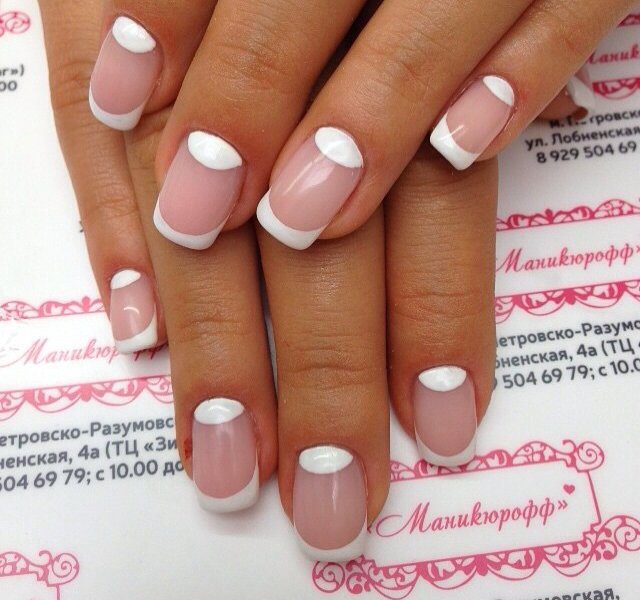
French manicure gel-varnish - a trend that is always in fashion!
French manicure gel-lacquer has already become a classic in nail design, and therefore the fashion for it does not pass either in winter or in the summer and does not depend on what year in the yard.
Such a manicure is a win-win option for any woman: in the morning you have an important meeting, and in the evening - a fashion show. For both cases the French manicure is the only way out, it will fit under any outfit.
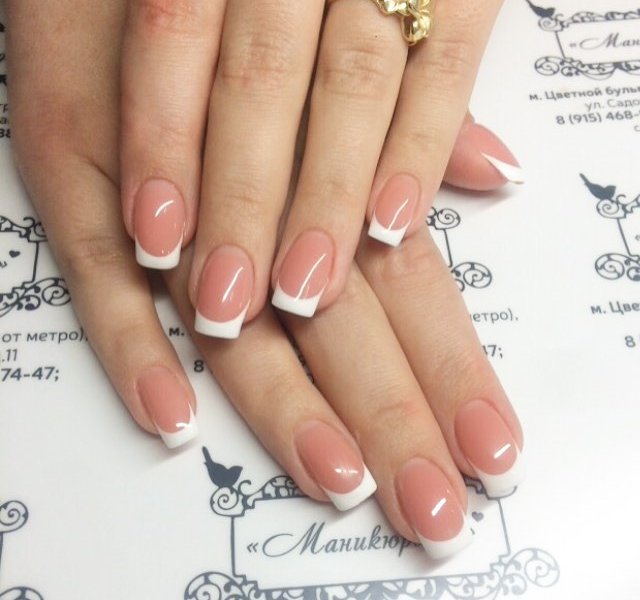
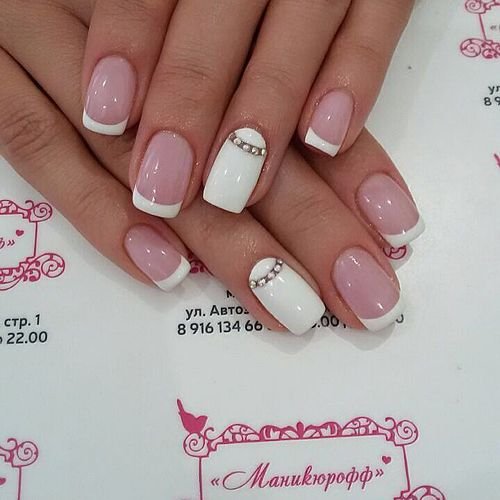
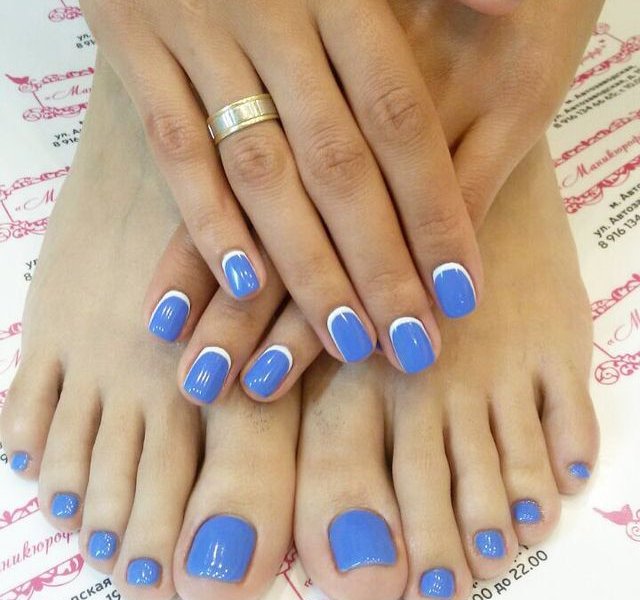
By the way, when brides choose a wedding manicure, they often stop their attention precisely on a French jacket. He looks innocent, gentle and in harmony with all the shades of the wedding dress.
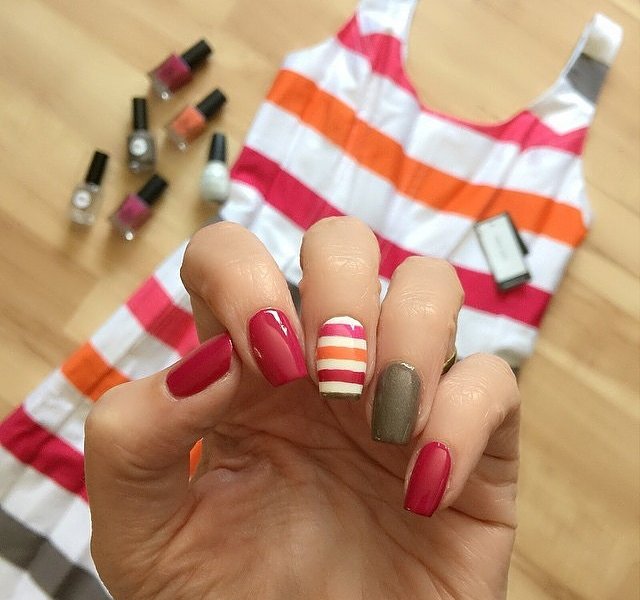
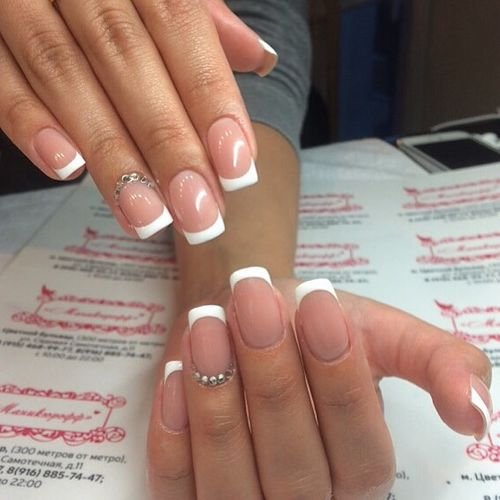
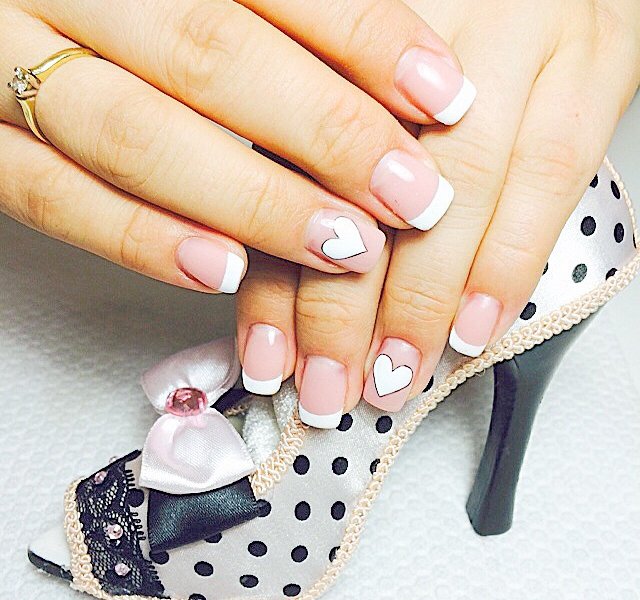
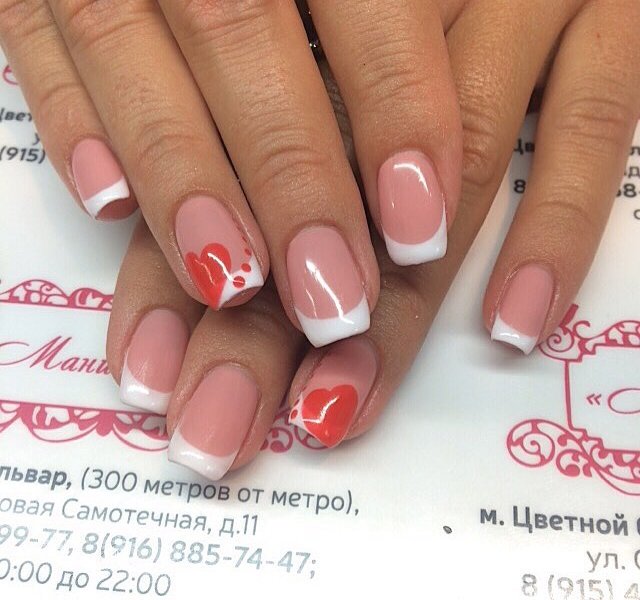
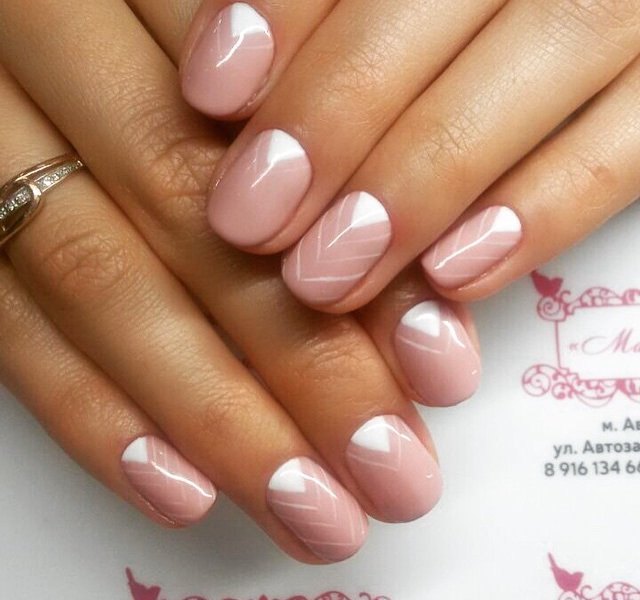
Many girls dilute a strict classical French jacket with all sorts of fictions:
- make two colored stripes instead of one white;
- Decorate several nails with drawings in the form of hearts;
- replace the standard manicure colors and make a drawing.
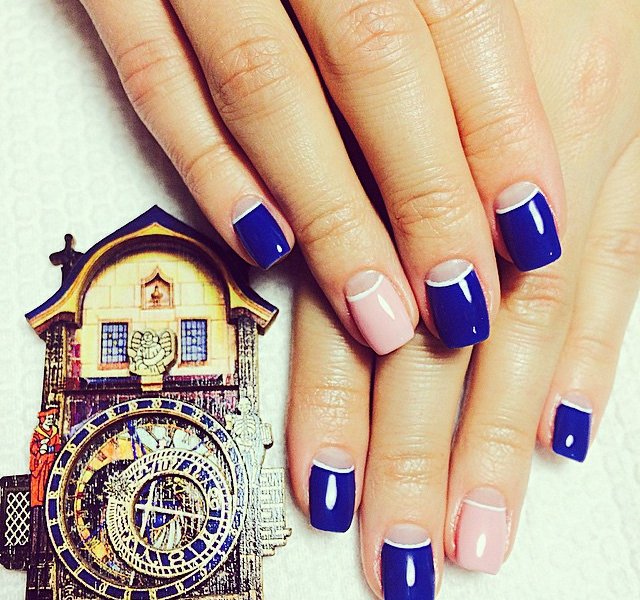
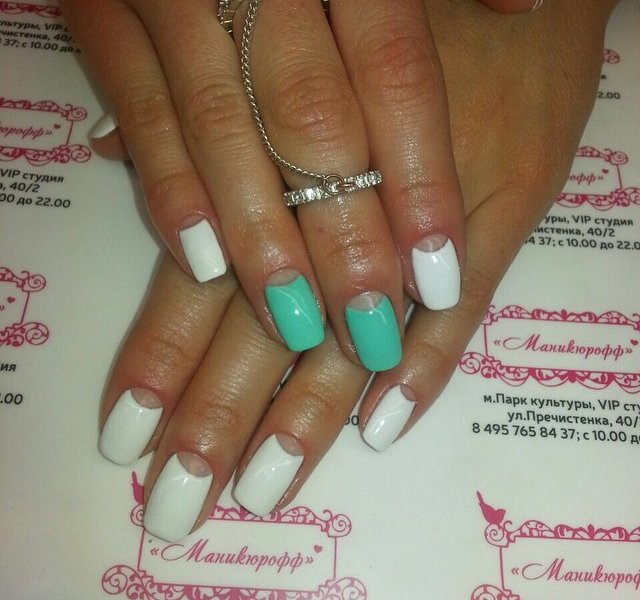
Lunar manicure gel-varnish: color combinations and types of drawings
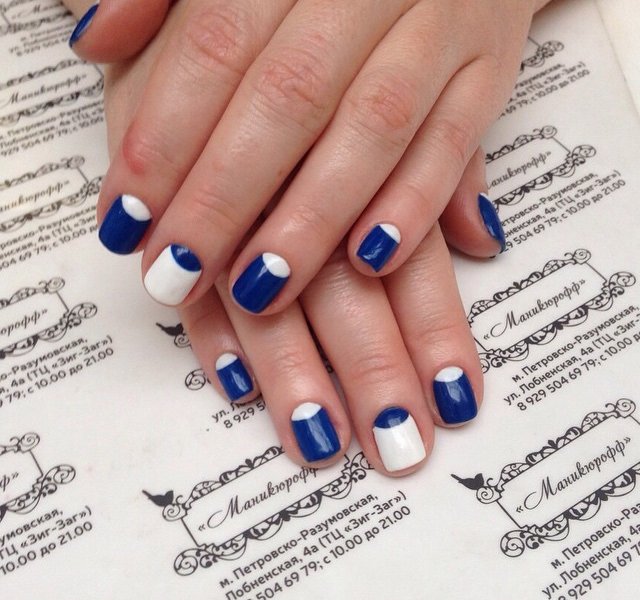
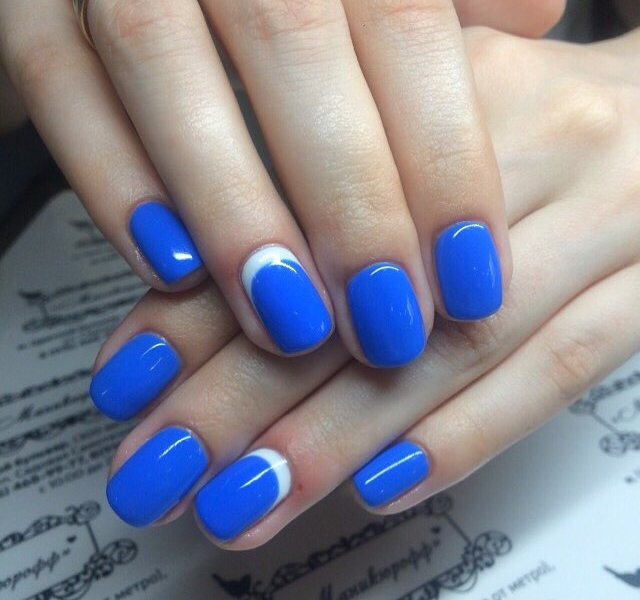
There are no strict rules. Lunar manicure gel-varnish can afford to use the entire palette of lacquers available to you. Let's list the most successful combinations of manicure:
- colorless hole - color base
- white hole - color base
- full blending of colors (combine your favorite colors together)
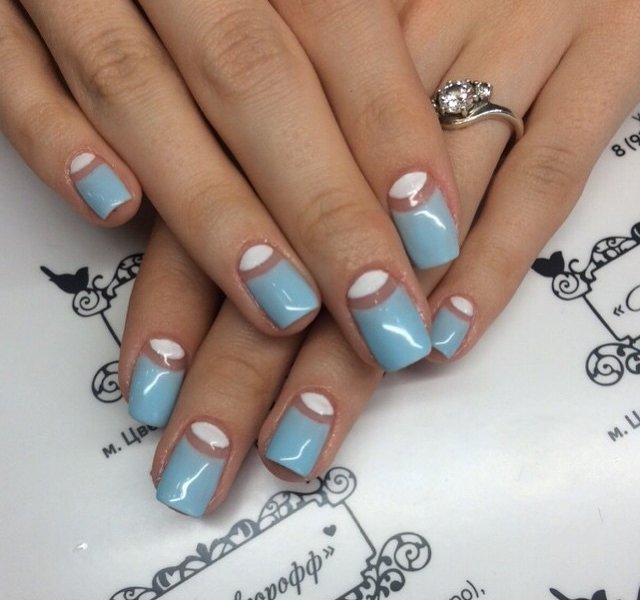
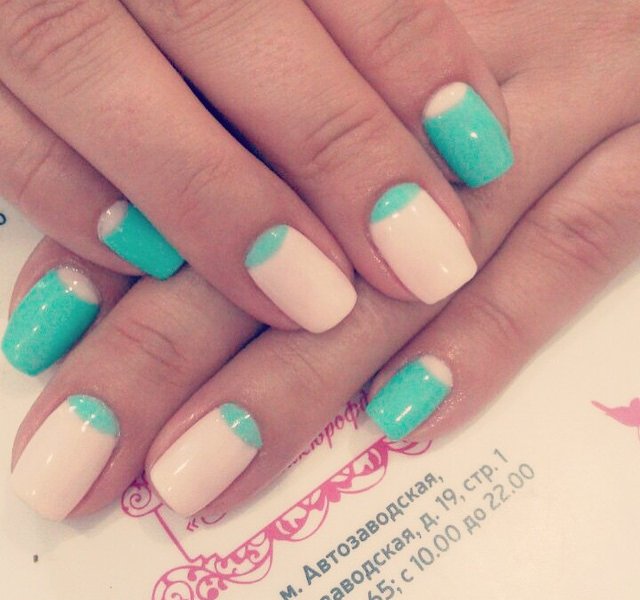
We recommend using a lighter shade for the wells than for the main lacquer. So the length of the nail will look more proportionate, and the manicure itself is natural.
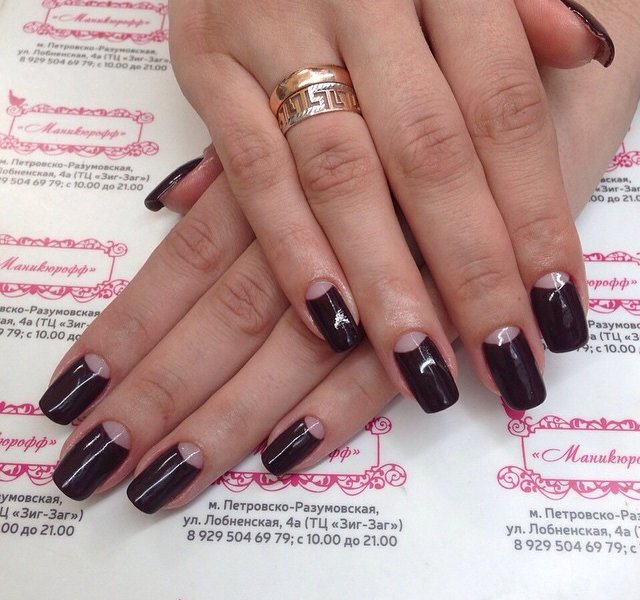
How to draw a hole on the nail?
Each master has his own way. There are several kinds of holes. What you like best, decide for yourself:
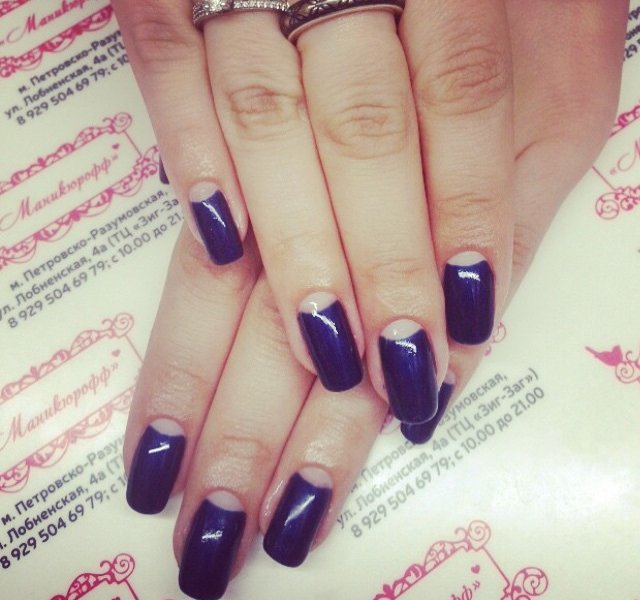
- The shape of the truncated semicircle is most often encountered;
- Isolation of the socket of triangles can be found much less often, and this option is suitable only for owners of oblong, elongated nail plate;
Advice: girls with short nails should abstain from such a manicure, since it is unprofitable to "flatten" the length of your marigolds.
- You can make the holes streamlined around the edge of the nail.
- The hole, outlined by a straight line, can be seen on girls' nails very rarely. Note also that this manicure has one more feature - the lacquer for the socket is taken darker than for the base color.
How to make a lunar manicure gel-varnish, video
Especially for you, we made a selection of videos on which master classes to create such a manicure.
Brilliant, gentle, translucent manicure can seem boring. But if you supplement it with rhinestones, you will get a complete result, which will please you for at least two weeks.
Have you been wondering how to achieve a perfectly flat line of the hole when you are doing the moon manicure? From this video you will learn that it's enough just to turn the standard sticker-stencil for the jacket upside down.
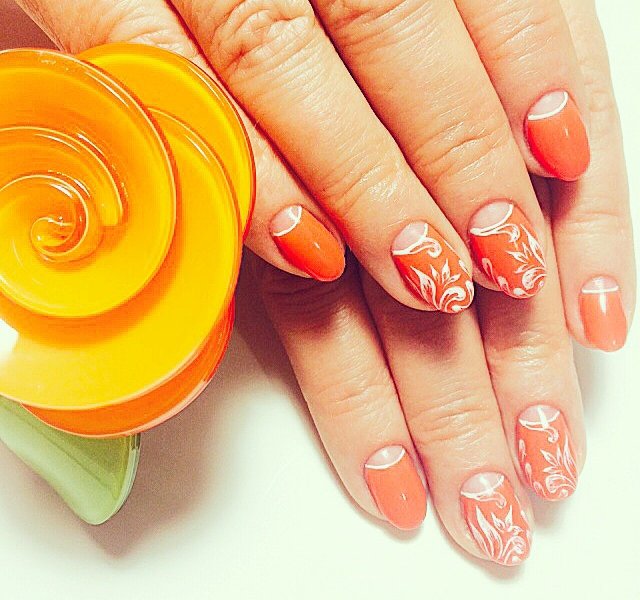
Pastel shades of colors plus the ornamentation of the hole line with rhinestones are an option for romantic girls who like to be in the spotlight.
Great workshop
The complete process of creating a stylish lunar manicure gel-varnish in the style of Dior from "A" to "I" look in this video. Here you can see all the details and subtleties of the step-by-step implementation.
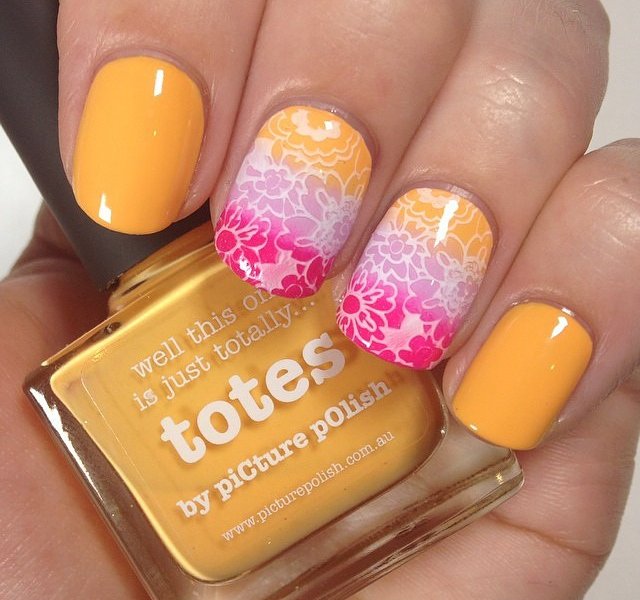
Manicure lessons with gel-varnish at home: gradient manicure
Technique ombre (or gradient manicure) is quite simple, so it can be quickly mastered and applied when you put your marigolds in order at home. Better to see once than hear a hundred times. Therefore, we do not paint every step of the process, we give instructions in the form of step-by-step photos.
- The horizontal gradient is done this way.
- And vertical - like this.
And this video let you serve as an improvised material for creating a manicure, if you still have some questions after studying step-by-step photos.