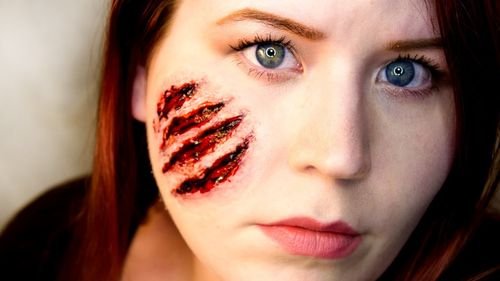
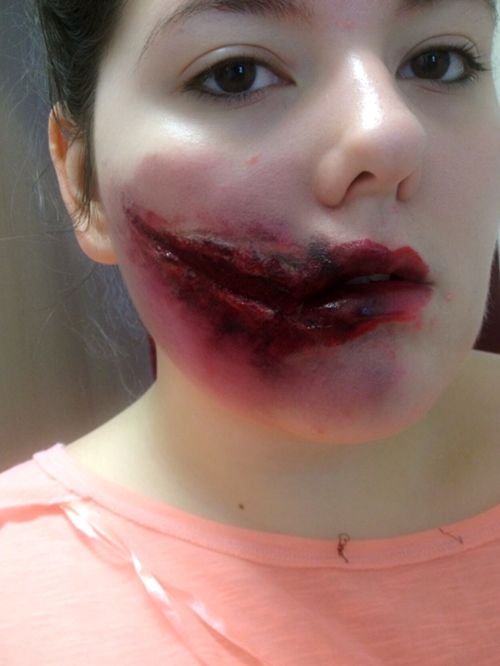
To make the original image of Halloween with the help of a suit alone is unlikely to work. Specificity of the holiday requires a full immersion in the awesome nature of the character and here without a specific makeup can not do. Today we will tell you how to make scars on Halloween - one of the most popular and effective elements of the exterior of many monsters and traditional Halloween heroes.
Artificial scars at home - step by step instructions
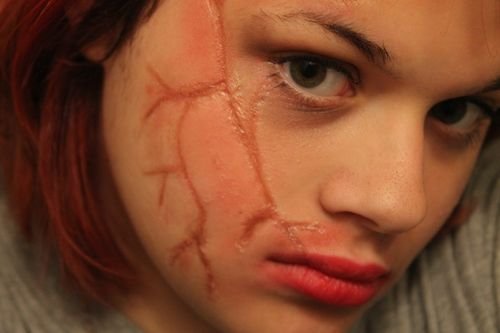
There are many ways to create an artificial scar on the face. But most non-professional masters prefer the real make-up to more affordable means. For example, the usual decorative cosmetics, without which the makeup of any modern girl does not do.
Necessary materials:
- Foundation
- gray shadows
- dark red lip liner
- clear powder
- matte pink lipstick
- corrector
- collodion or medical glue
Main stages:
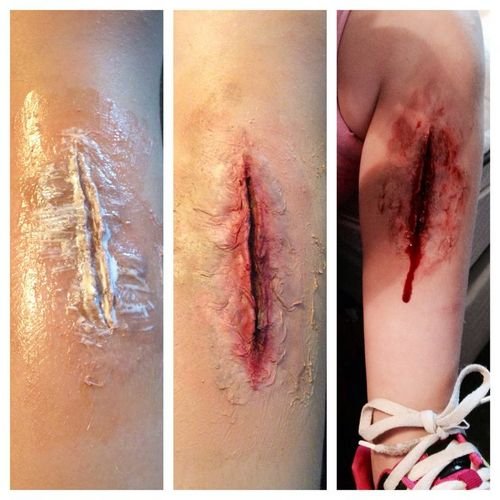
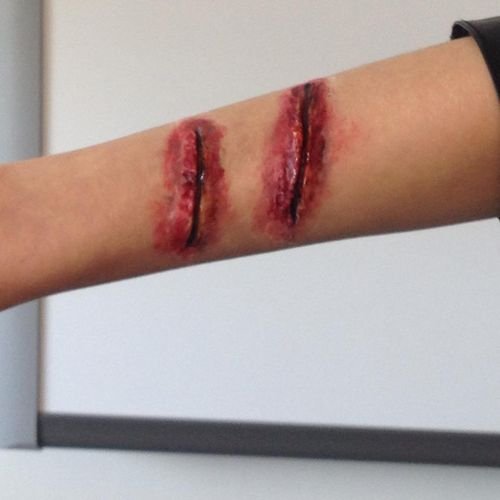
- Align the complexion with a tonal base of a light shade. It is better to take the tone of an unnatural gray-beige color, which will give the whole image a painful look.
- With light strokes, we apply gray shadows to the site of the future scar and shade well. This technique will help to create volume to our scar.
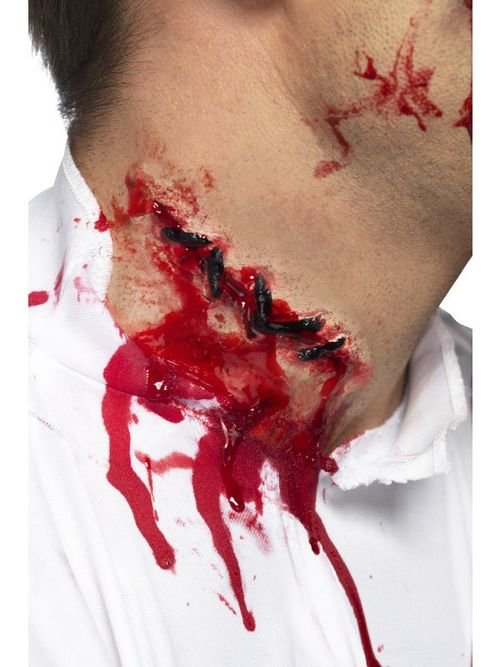
- Using a dark red lip pencil, we apply contours of the future scar. The way it will look on your face depends entirely on your imagination. We only note that the torn scars look much more realistic and frightening.
- Paint the finished contours with the same pencil for the lips.
- Over the sketches in several layers, we will apply medical glue or collodion, which can be purchased at the pharmacy.
On a note! Instead of medical glue, you can use a conventional PVA. But keep in mind that working with it is more difficult, and the effect can be short-lived.
- Let the liquid dry for 5 minutes and apply a transparent powder on top.
- Add a volume scars with a liquid face corrector.
- Carefully with a thin brush with a matte pink lipstick, we will give the scar color.
How to make a fake scar-cut on the hands on Halloween
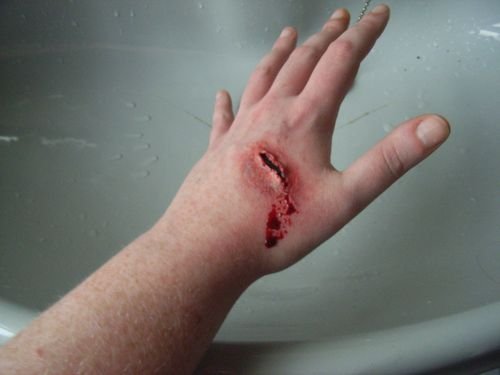
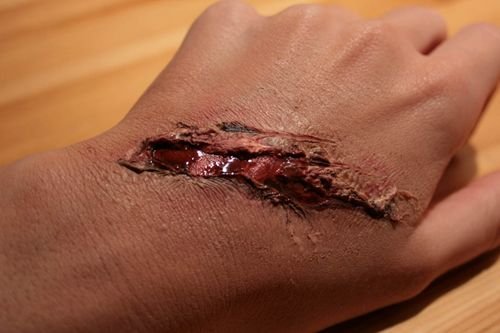
Another popular place for drawing makeup in the form of cut wounds and scars - hands. However, to create an awesome cut on the hand of one "dekorativkoy" can not do and you need to use this makeup.
Necessary materials:
- makeup or palette of shadows and blush
- powder
- sculptural clay
- alcohol and cotton wool
- black eyeliner
- PVA glue
- nail file and tassel
- hand cream
- nail polish red
Main stages:
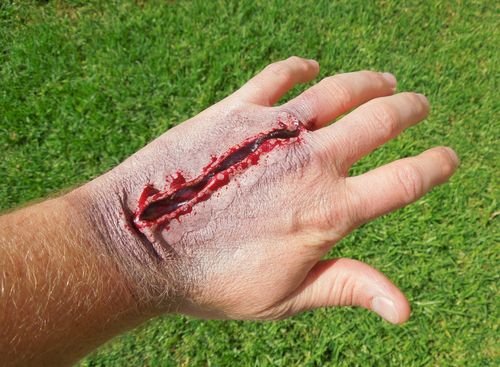
- Degrease the chosen place for the scar on the hand with cotton wool and alcohol.
- Draw a black pencil outline of the future scar.
- We roll a thin sausage from plasticine and distribute it along the drawn contour. Using the nail file, we make a deep cut with torn edges. Remove irregularities of the transition with a hand cream.
- The edges of the scar are treated with PVA glue. This will smooth the transition between the skin and clay.
- We let the glue dry and we powder the entire scar.
- With the help of shadows or make-up, we paint the scar in dark red tones.
- The final stroke is blood. Her role will be performed by the red nail polish, which must be poured deep into the wound.