The most amazing thing is that a marble or water manicure, and it's about this kind of nail art, with all its artistic splendor, can easily be mastered even by one who has never done drawing. In the technique of marble manicure, the artist is ... water.
What you need for water manicure
For the first time you need to stock up with enough time and patience: if you can not allocate at least two hours of your time, you should not start.
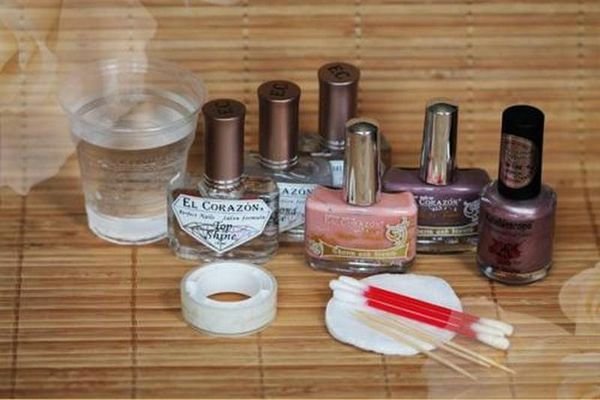
If you are ready to dedicate your nails for several hours, prepare the following supplies and materials:
- Small capacity for water.
- Greasy cream or scotch tape.
- Toothpicks.
- Disks and cotton swabs.
- Base and fixing coating.
- Varnishes of different colors - no less than two.
- Nail polish remover.
Important! When choosing varnishes for water manicure, you should stop on liquid varnishes.
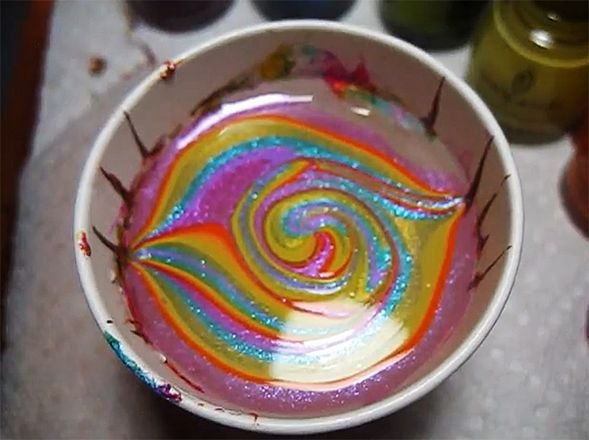
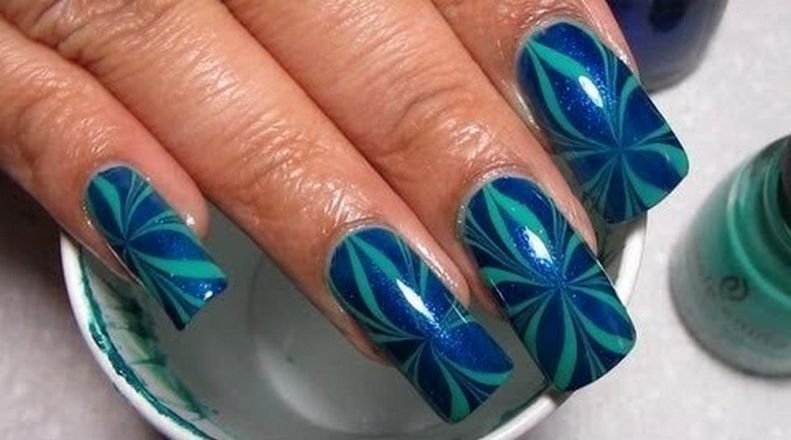
If the lacquer is thickened, it can be diluted with a special solvent. To make the drawing more colorful, we advise you to choose contrasting matching shades. If you add a holographic varnish or varnish with sparkles to the color palette, you can achieve amazing effects.
Another important point: do not use gel-lacquer for water manicure, as it does not spread on the water surface.
We do water manicure at home
After all is prepared, we will consider in detail the instruction how to make a water manicure at home in stages. It should be borne in mind that the nails should be prepared in advance - the cuticle is removed, and the nail plate is brought to the desired shape. Now you can proceed directly to work with nails.
- Apply the base layer of clear lacquer, wait for it to dry. By the way, in the future it will be possible to experiment: to make the first coating with varnish, which will be combined with one of the colors of the water manicure.
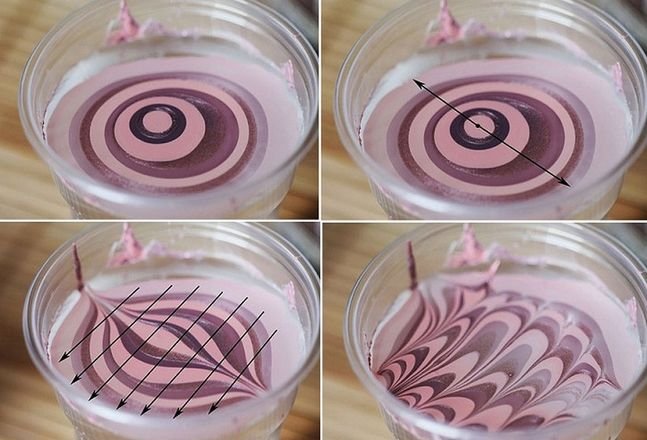
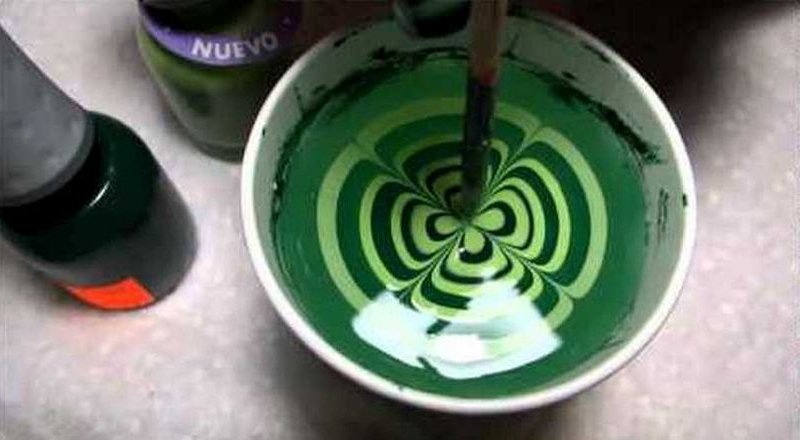
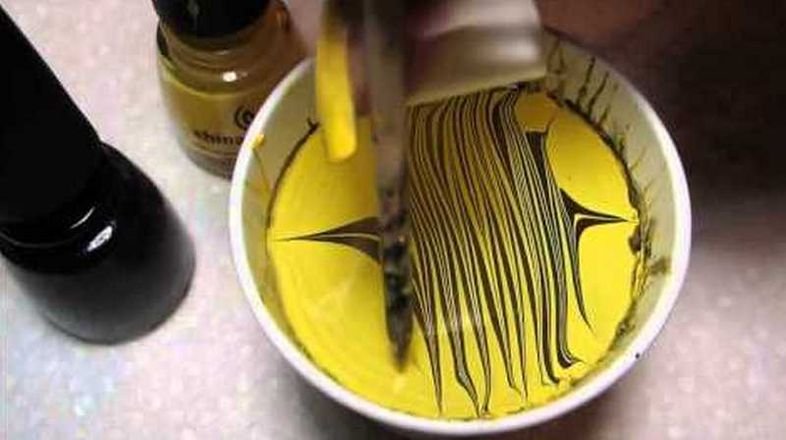
- The next stage is the most interesting, because there is an opportunity to show your imagination. In the prepared container with water, drip two or three drops of lacquer. Droplets should hit the center and spread out on the surface. Pay attention: if the varnish does not spread, or drowns, its consistency is too thick.
- In the center of the first growing circle, we drop a drop of a new color, then add a third color and so on. The number of varnishes can be any, but enough for a picture, even two.
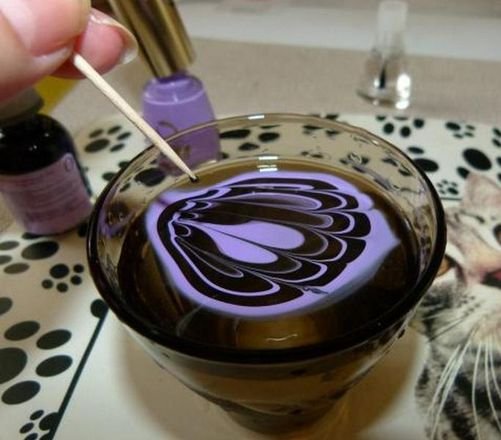
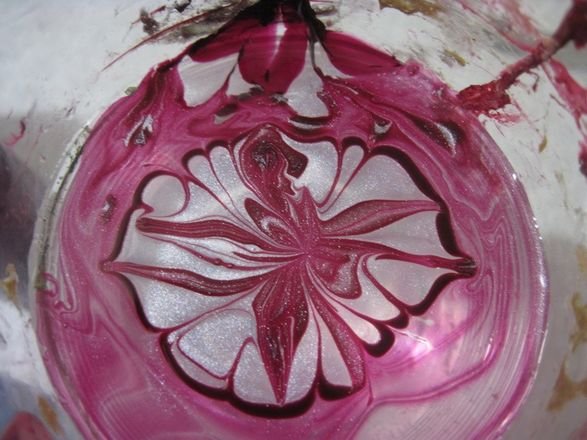
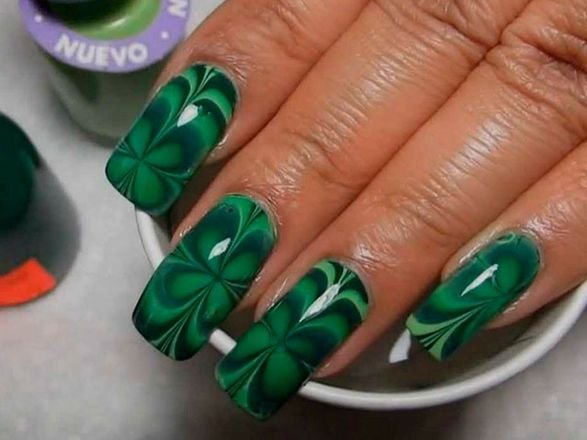
- When the surface of water began to represent colorful circles, you can make a drawing. With the help of a toothpick or a thin wooden stick on the varnish surface, we draw lines. Already several movements will give an unusual pattern. If you draw lines in a certain direction, you can achieve amazing effects.
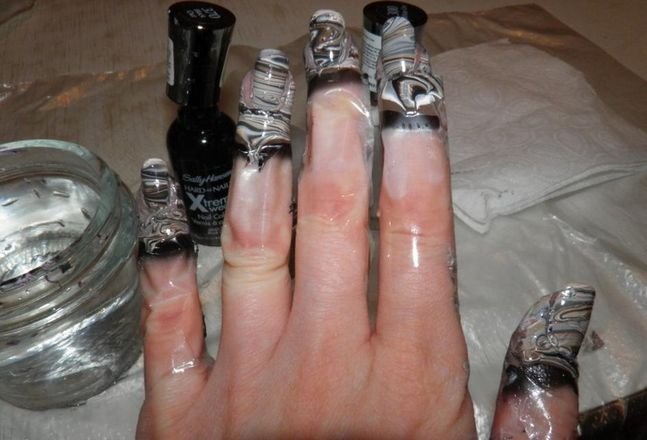
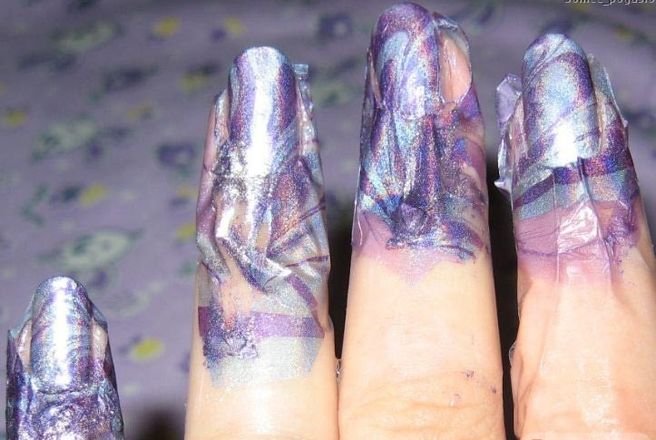
- The next task is to transfer the resulting pattern to the nail. To do this, the skin of the finger around the nail should be greased with a thick cream. This is done so that later it is easier to remove the varnish from it.
- Another way to protect your fingers from staining is to stick the skin with adhesive tape.
The video shows in detail how this can be done: - When the finger is prepared, it must be sharply lowered to the finished drawing. In this case, the nail should dive parallel to the surface of the water. Do not remove the finger from the water, remove the remnants of the lacquer film with a cotton swab or toothpick. How to do it right, you can consider in detail in the video tutorial: Pay attention to the fact that the finger can be pulled out of the water only after the remnants of the lacquer film have been completely removed from its surface.
- The final stage of the water manicure is to clean the skin of the finger from the varnish. If before it was applied a greasy cream, the varnish is easy to remove with a napkin. Before you remove the tape, some masters recommend waiting until the pattern dries. If the edge of the nail is slightly drawn pattern, it is easy to remove with a liquid to remove varnish and a cotton swab.
- When the pattern is dry (the water manicure dries somewhat longer than usual), you need to apply a fixing layer of clear varnish.
Why did not get a water manicure
In fact, there is nothing complicated in water manicure. The catch of this technique is that if at any stage an error was made, all the work will go wrong. Before we begin to perform a water manicure at home, we advise you to pay special attention to the following points:
- It is impossible to admit, that the cream with which it was greased a skin of hands, has appeared on a nail plate. In this case, the varnish will not hold.
- The water temperature should be not too hot and not too cold. The ideal temperature is 34-37 degrees.
- As already mentioned above, water-based manicure is not suitable for gel varnishes and thickened.
- To ensure that the lines of the pattern are neat, during the creation of the pattern, you need to constantly clean the toothpick with a liquid to remove the varnish. In doing so, carry the surface of the tip of the toothpick. If the water is not warm enough, the spreading varnish will quickly cover with a crust, and will not make it possible to make a drawing.
- To save varnish, you need to choose a narrow container. At the same time, the vessel must be deep enough that the nail does not touch the bottom and walls.
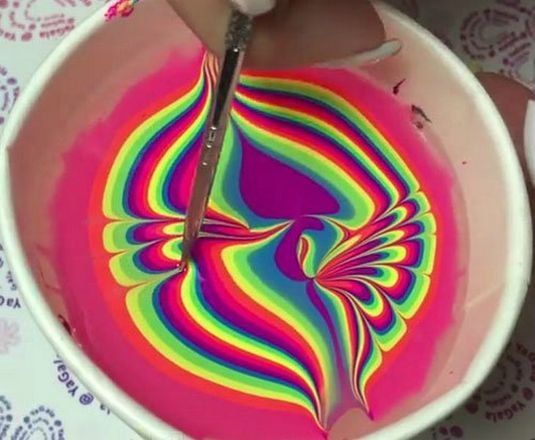
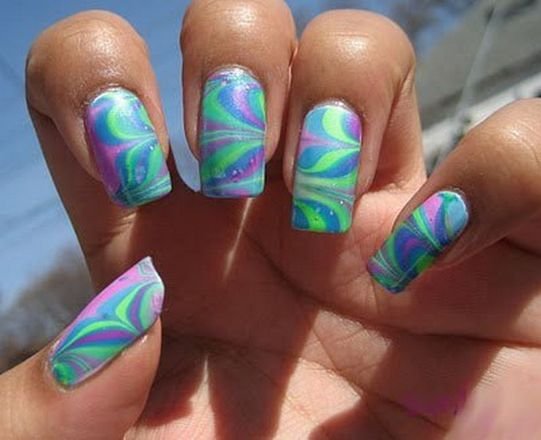
One of the most amazing and attractive properties of water manicure technique is its uniqueness. Each new drawing will necessarily differ from the previous one. This feature attracts masters of manicure, which has already highlighted a lot of interesting directions in the design of water manicure.
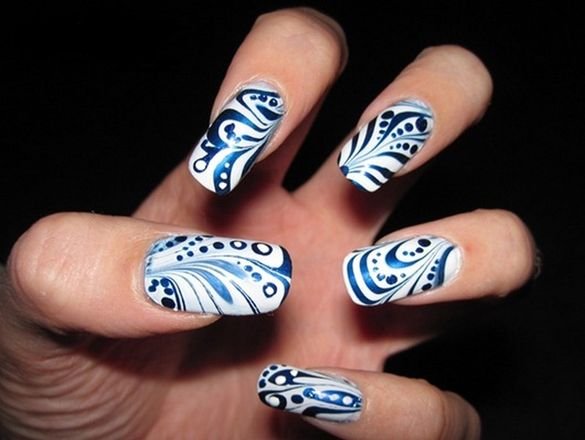
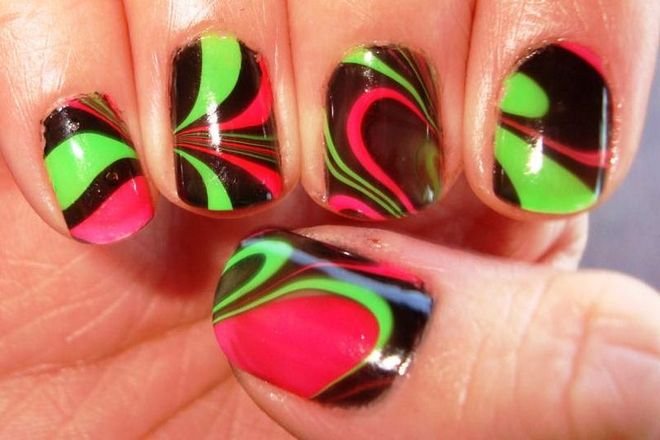
Black-and-white range gives a lot of opportunities for the original nail art:
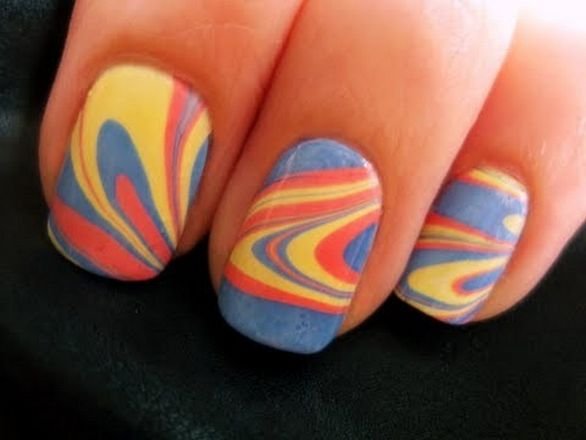
Very urgent is the British theme using red, white and blue colors. In the master class the author in detail shows how you can make a floral pattern: