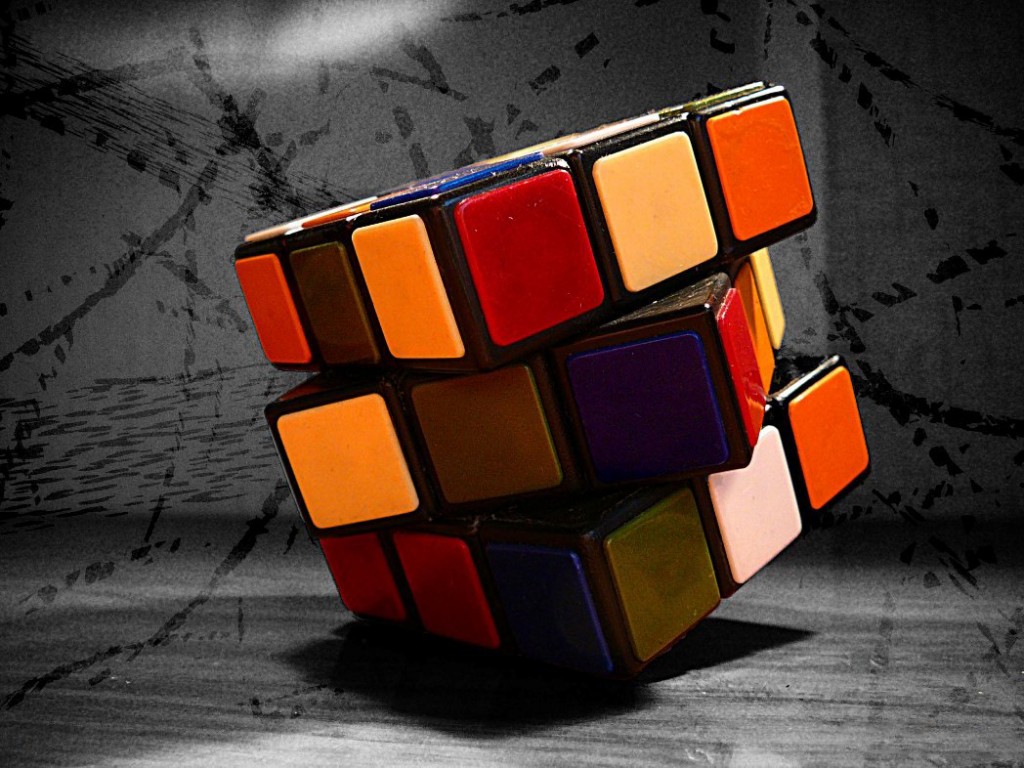
Everyone who wants to develop their mental abilities must solve various puzzles. It has long been proven that they perfectly develop thinking. For example, such as a cube rubik. Probably, each of us at least once in my life held a cube rubik in his hands. But not everyone can cope with this toy-puzzle and collect it. For those who want to understand how to add a Rubik's cube, this article is written.
There are several answers to the question: how to add a Rubik's cube? Today we will talk about one of them. Next, you will be given a step-by-step instruction for adding this puzzle.
First step
At the first stage we need to fold the "upper cross". To do this, choose the face that we will add and fix. There are five different situations for the location of the cube, which belongs to the front and side faces. Therefore, we orient the cube and make it so that our cube goes to the front face. To begin with, in the role of the facial face, choose blue, and the top - white. Then on the right, let it be orange, on the left - red and behind the blue one. Now put the first cube on the front face. This is a blue and white cube. After that, in the same way we show the cube on the other faces so that on the top surface we get a cross of five cubes of white color. We pass to the second stage.
Second phase
At the second stage we need to add the so-called "corners". In this case, it is necessary to display a corner cube on the front face. For example, let it be blue-orange-white in the lower left corner. After that, you need to move the cube to the upper right corner. Now we take the following face as the front side and repeat the same process. Thanks to him our top white layer is completely assembled.
The third stage
Now it's time to collect the "belt". To do this, you need to place the side cubes. In our case, they will be: blue-orange, blue-red, orange-green and red-green. After that, turn the bottom layer up so that the cube takes the place on the front side below. Remember that the color of its face is the same as the color of the central cube on the face. Now we look, what face appears below, and depending on it, we translate a cube to the left or to the right, according to color. If the desired cubes are in the middle layer, but are not oriented correctly, they must be transferred in the same way to the lower layer, and then back.
Fourth stage
Now we make a cross on the bottom edge. We turn the Rubik's cube so that the assembled layers are at the bottom. Now we have all the cubes of the unassembled layer that are not in their places. We take onboard cubes: yellow-blue, yellow-orange, yellow-green and yellow-red.
In subsequent operations, it is necessary to make so that two cubes change places and one of them is turned over. If the top face is yellow, the facade is blue, the orange is on the left, then in the situation "the cube is orange-yellow from the top (the facet is yellow), and the top is yellow-blue on the top (blue side up), this process will put two dice in their place When moving, you will hook four more cubes, but this is not important at this stage, you need to make sure that all five cubes are correct.
Fifth stage
At this stage, you must make turns so that the bottom cross eventually collects. At the same time, all the onboard cubes will also fall into place.
Sixth stage
We set the corners of the middle face. They should be in their places. Even wrongly oriented. Make twenty-two moves to place the corner cubes correctly. Repeat this process until you reach the result. If at least one cube is in its place - turn the Rubik's cube so that it is on the left on the back side. After that, repeat again twenty-two moves.
Seventh stage
We break up with the last undirected cubes. But remember that the turns affect all the layers, so you must first rotate the top edge only. After all the cubes have become in place - turn the upper edge. That's it, the Rubik's cube is complex.