At first, crochet crocheting became part of the everyday life of the peasants and was called "Tambour." Hooked lace, they were decorated with blouses, pillowcases, jackets, aprons, aprons, towels and so on. And even decorated whole products - curtains, tablecloths, napkins. They were mainly knitted from linen and cotton yarn. The machine can not crochet. Here, each thing is unique and performed with the participation of fantasy and warm hands.
Small Basics for Crocheting
With the help of knitting you can express your mood, personality and escape from the common images in a suit. In addition, crocheted products in the bed of capricious fashion are the most stable and decorate your wardrobe for a long time.
These basics will help you in your work
Working with the hook, you need to pay attention to the "handwriting", the height of the columns with the crochet should be not very small and not too large. It depends on how the working thread will be stretched to the 1st reset of the loops. To the tops of the columns did not turn out to be stretched, you need to hold the working loop on the hook with the middle finger of your right hand, and hold the hook with 2 fingers - index and large. The operating loop must be released at the time of reset.
When knitting the part, care must be taken that the edges are not pulled together. You need to hook the chain by 2 sizes more than the hook that was selected for you to work. The height of the edge column and the number of air lifting loops should be equal to the height of the band being tied. The height of the column without the crochet in simple patterns is equal to one air loop, and the height of the half-tube is equal to 2 air loops. Then for each reset of loops add on the 1st air loop. By sending bars with "from under the arch", "at work", "before work", "raskosl", the height of the row decreases and therefore the height of the edge loops should be reduced. In the reports of patterns, the edge loops are given on the "handwriting" of medium height. You will need to slightly change the edge, this should be done after checking the edge of the control stripped sample.
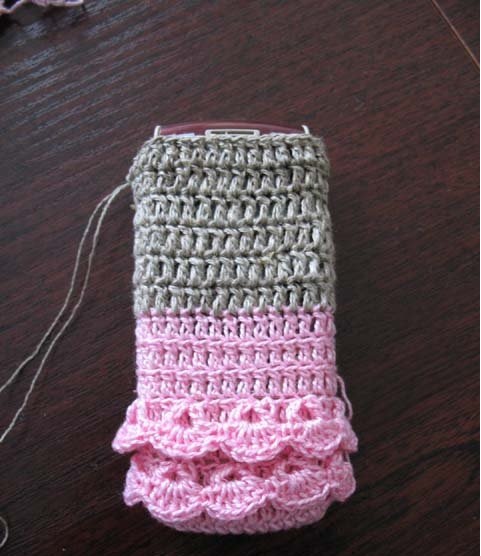
When changing the color of the thread, resetting the loops at the bar must be performed with a thread of a different color. Leave the tip of the thread of another color slightly free, then fix it on the wrong side or along the edge of the finished fabric. It's better to get involved. Similarly, a thread is attached or fixed if it is removed from work. When it is necessary to alternate colors in rows, then loose threads are transferred along the edge of the part, they are interleaved with a working thread if the loop loops are fastened.
To calculate the density of knitting, a control sample measuring 15X15 cm is made, the edges are fixed on the stocking thin knitting needles and stripped. Lay with the wrong side up through a linen damp cloth, the iron is held by weight, slightly touching the damp cloth. You also need to steam off the finished parts of the product. If the parts are properly tied, they do not require the edges to be fixed. When there is a need for this (many chains of air loops, they pull together a part, a springy rigid yarn, a slight distortion of the part, etc.), then the contour of the pattern is applied to the canvas and the edges of the product are fixed on it.
Straight details can be knit with the help of calculation results. The rounded lines of details, the lines of the armhole, the throat, the pellet of the sleeve are more convenient to knit by the control pattern. On the sample with a thin soap of soap, the desired line of pattern is applied. It is additionally denoted by stitches with coil threads of contrasting color. Then the line in each row will accurately indicate the height and number of loops of increase and decrease.
Finish the throat to perform on the scraped edge, previously made. To do this, you need to fix the edge of the neck, apply on it 2 times small stitches with coil threads of contrasting color. Then, along the length of the neck, tie a chain of air loops along this chain to connect one row of columns without a crochet. Strip off and sweep to the edge of the neck, and then sew it with a thread "for the needle" over the free half loops of the chain chain. Remove the reel thread. Strip the tape with the wrong side or face. You can also process the edges of any parts if you need further finishing. On the finished part, you can still transfer the finishing laces.