We decorate a flower pot - a master class
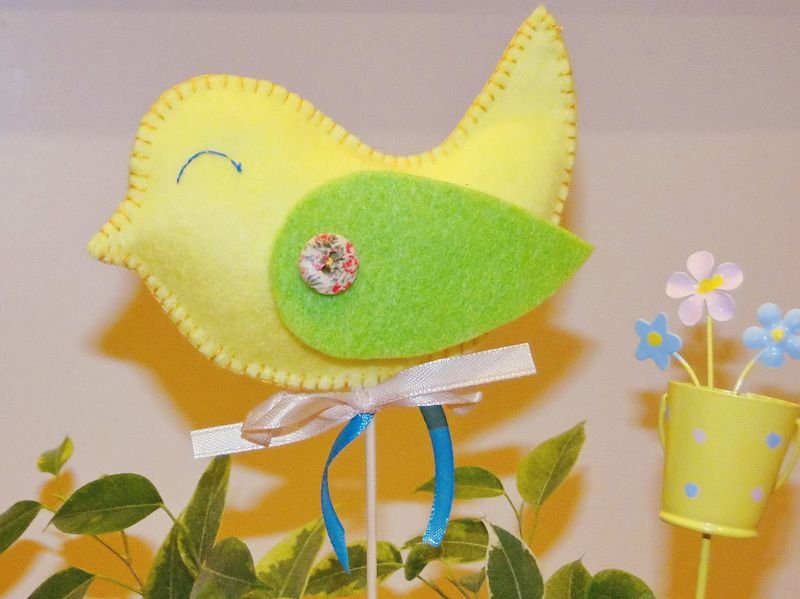
A sweet yellow bird can become both an original decoration for a flower pot, and an unusual children's toy. The process of manufacturing it is so simple that you can easily connect small assistants to it. Such a joint forgery will help not only to have fun together, but also teach the child perseverance and creativity.
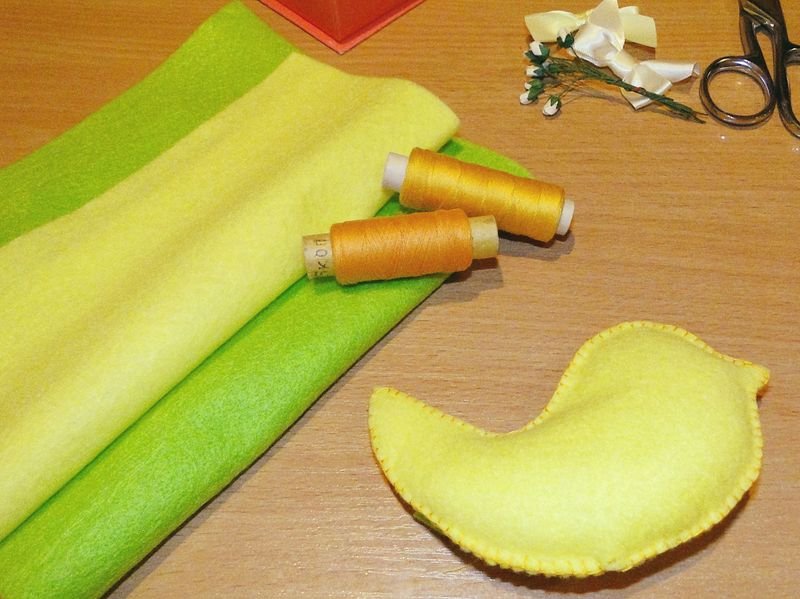
Necessary materials:
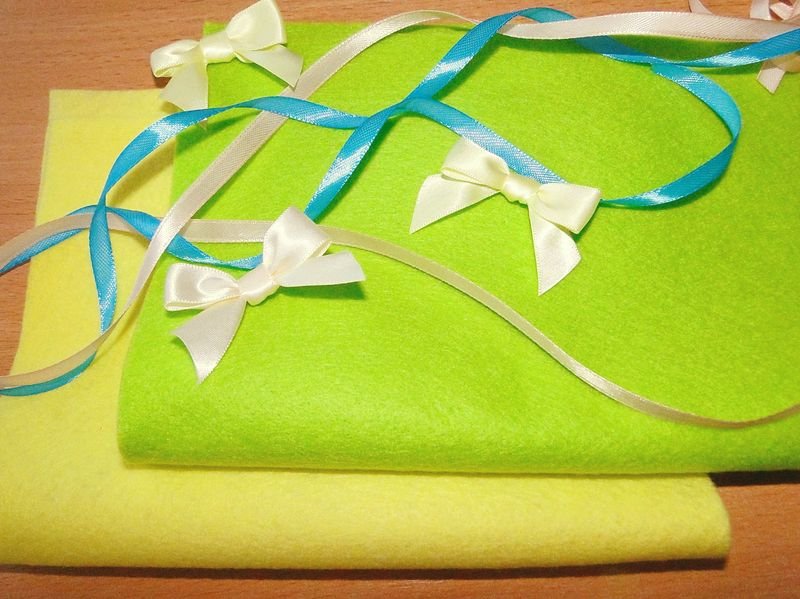
- Feather of any two colors that will please
- threads of corresponding shades
- canapé stick or sushi stick
- sintepon for stuffing toys
- ribbons of two different colors
- buttons or other favorite fittings
The main stages of work:
-
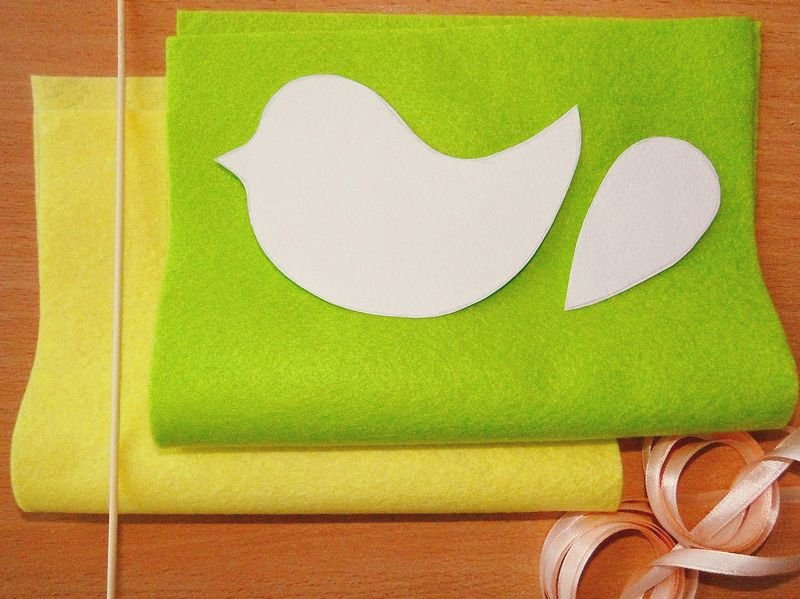
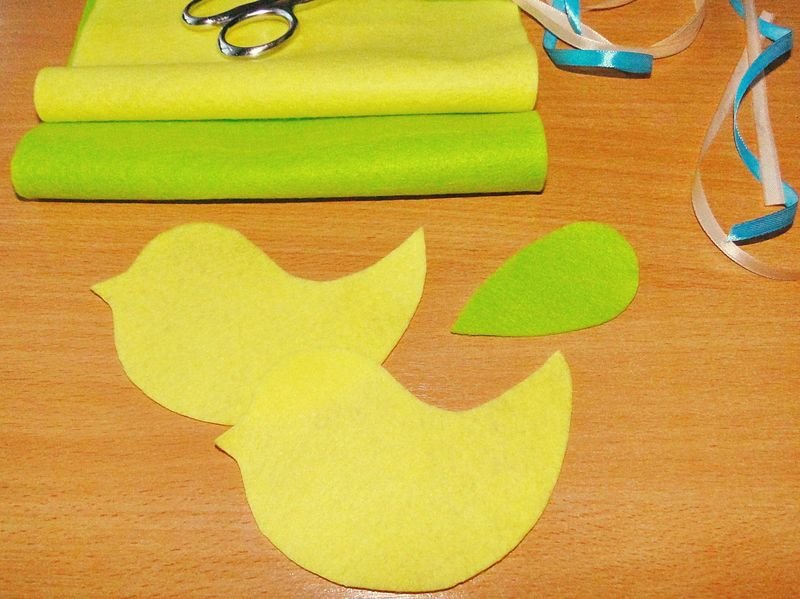
On sufficiently thick paper, the image of a bird is drawn. It can be absolutely any. You also need to draw a future wing for her. Patterns are neatly cut out of paper, so that very soon the first details for a sweet chick begin to appear. -
The pattern is applied to the fabric and you can begin to cut the body in two copies, and the wing in one copy. On a note! To cut out the pattern does not slip off the felt, it can be fixed with several pins.
-
Now begins the most responsible, but from this no less simple work. Two parts of the trunk are joined together by means of a looping seam. The stitch length is 0.3-0.4 millimeters. It should be the same and uniform. The firmware is on the front side, because the product will not turn out. In addition, the loop stitch is pretty beautiful, which gives him the right to be in sight. It is important not to forget to stuff the toy with a sintepon in time, after which you can continue sewing. Filler will take quite a bit, because the decoration should be moderately soft and not too prominent. -
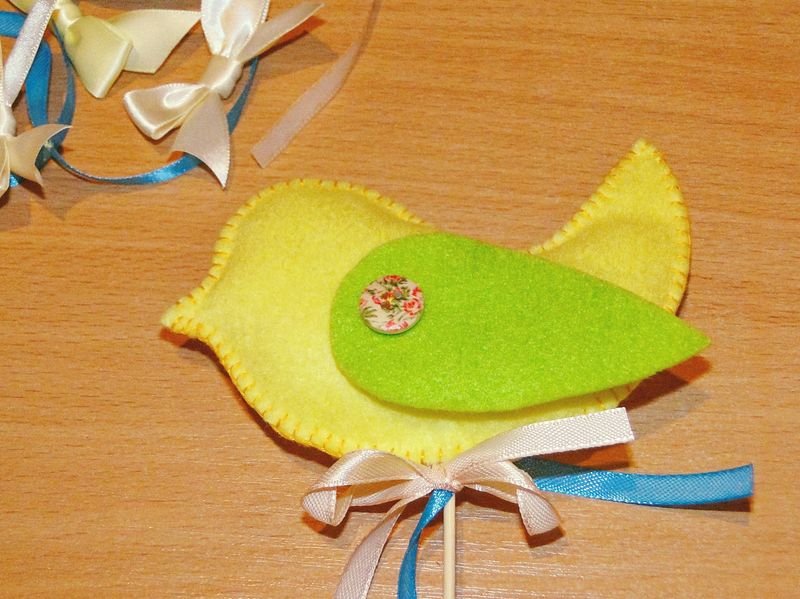
A wing is attached to the body of a chick, and a button is placed on top of it. She will act as a beautiful and original detail. -
After that you can put the bird on the stick. It is placed in one of the small holes that formed between the stitches during the execution of the loop seam. This is enough to keep the wand strong. But for greater strength, you can drop a little superglue on the transition section. On a note! To make the toy-decoration look even more attractive, decorate the wand with satin ribbons and bows.
-
The final stage - embroidering the eye with a conventional needle and thread, a contrasting color. -
The original toy for the flower pot is ready! Nobody will say that it was difficult, was it? And the result is a charming decoration that will please the eye and soul. Successful creative achievements!