As a rule, knit both summer and winter hats should start from the top, from the very first small circular number. The entire subsequent process will directly depend on the model of the cap that you want to link. By the way, it is on how you begin to knit the bottom, the appearance of the finished product will depend. If you are a novice in this business, you will first have to master the technique of performing the two main types of top caps - for a model that has a rounded shape and a flat bottom (skullcap, beret, hat). Remember that knitting any model of the headdress not only has its own characteristics, but also requires special skill, skill and patience!
Preparatory stage
Before you connect the bottom of the caps of any model, you need to think through all the details. For example, choose the color of the headgear (usually the cap should be combined with some piece of clothing or accessory), the model and eventually make preliminary calculations of the knitting process, and only then go to yarn.
By the way, it would be appropriate to say a few words about yarn: the yarn must necessarily match the binding and style. Remember that the pattern will look more impressive if you choose bulk and thick yarn. Under this yarn is to choose a hook or knitting needles.
After that, before tie the headpiece, take off the measurements and make a pattern. You need to know the volume of the head and how many centimeters from the crown of the cap to the top.
To ensure that the cap does not fit snugly to the head, you need to add a small space. Special attention should be paid to the crown. After the required calculations to the pattern, you can safely go to knitting, in which, first of all, we unfasten the bottom.
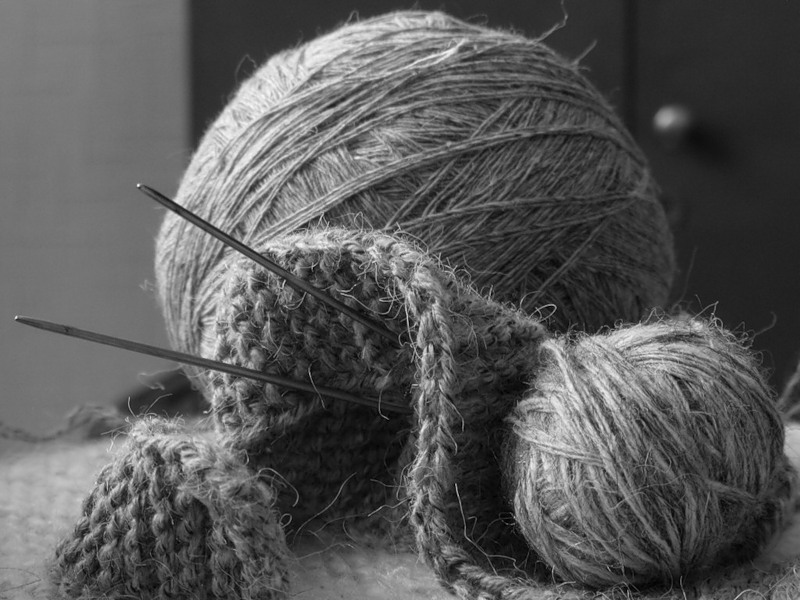
Beginning of knitting with a hook
We all know that crocheted crocheted hats look very gentle and original. So let's try to tie the bottom of the headdress with a hook.
For these purposes, we need a pattern, tailor meter, hook and wool or cotton thread (depends on the season).
In case you are very far from creating patterns yourself, you can find a ready-made pattern of crochet crochet and just make a refinement of the right size. Begin the process of knitting is from three air loops, which need to be closed in a circle using a connecting post. Then it is necessary to perform six circles in a circle, that they do not have a crochet. As a result, our bonded fabric takes on a very dense shape.
But the beginning of a light cap for the summer, which should have a mesh surface, should not be three, but five whole loops. In this case, we do three loops for lifting the next row and perform a circle with twelve columns.
Continue to knit the bottom of the cap, add six to each circle row (of course, if the knitting technique includes a column without a crochet) or twelve (if we make a crochet) of the columns. By the way, it is very important, at the moment of transition to the next series, to realize the lifting loops in reality.
In order to bind the bottoms of the bottom in a flat form, as required, for example, it takes, we make the increments of the loops in the following sequence. Initially, we divide the bottom of the future product by six (twelve) equal wedges (depending on the number of initial posts), then add at the end of each row in a column. To this end, two new ones are removed from the arch of the lower column. So we get the top of our headgear of the required size.
You can try to start knitting a hat that has a round shape. Here we need to make a circle with the help of circular rows, the diameter of which will be approximately eight to ten centimeters.
After this, gradual and uniform reductions of the columns will occur - our product will begin to acquire a rounded shape. But in the beginning or in the middle of every second circular series we do not bind six or seven bars.
When our beginning of the future headgear, or rather to say its bottom, will be ready, we can safely proceed to the subsequent work, according to the pattern of the chosen model.