Manicure is a cosmetic procedure, without which a woman can not be considered well-groomed. Accurate nails of regular shape make the hands elegant, fingers - long, and the image - perfect. Learn to shape the nails at home - then do not depend on the schedule of beauty salons and your own busy schedule. Today we will tell you about the obligatory stage of any manicure, about how to shape the nails.
We shape the nails at home: we prepare tools
Properly selected quality tools - a pledge that the work will be done well. Do not save! Choose professional scissors and nippers, and they will serve you for several years. Do not forget about hygiene. Remember that ideally, all manicure devices must be individual. Treat them before the procedure begins with chlorhexidine or alcohol, and then carefully dry.
In the home manicure set must include:
Nail scissors . With their help, you can shorten the plate and set "sketches" of the form.
Nippers. Professionals of manicure believe that the length of the nail should be cleaned with the help of nippers. A sharp, slightly rounded edge cuts smoothly, grabbing all the layers, which in the future will not allow the plate to separate. Also, this tool is very useful when you will get rid of burrs.
Files. The sausage is needed to form a beautiful shape, so it is very important to choose a quality and convenient for you. Particular attention should be paid to the rigidity (i.e., abrasive ability), the material and the shape of the saw. In the shops you can see:
- Paper, which is based on the usual multi-layer paper, on which the deposition is done. Such files are cheap, but quickly become unusable and do not lend themselves to disinfection. It is better to use them as one-off.
- Plastic. They are characterized by flexibility and the ability to gently impact brittle and brittle tips. Easy to clean and inexpensive.
- Metal. Favorite manicure tool of our mothers and grandmothers, can serve for years, but at the same time, because of its rigidity, leads to serious damage and delamination of the plate.
- Glass. Ideal for home use. Such a file makes it easy to handle nails, while maintaining their health, well disinfected, long retains its properties. Cons: high price and fragility of the material.
In addition to the material, the important criterion for the selection of the file is the shape. Distinguish direct (suitable for manicure, and for pedicure) and curved, "bananas." The latter is convenient to hold in your hand and round them with a free edge.
Blocks may have a different degree of abrasiveness, but they tend to be applied more at the polishing stage.
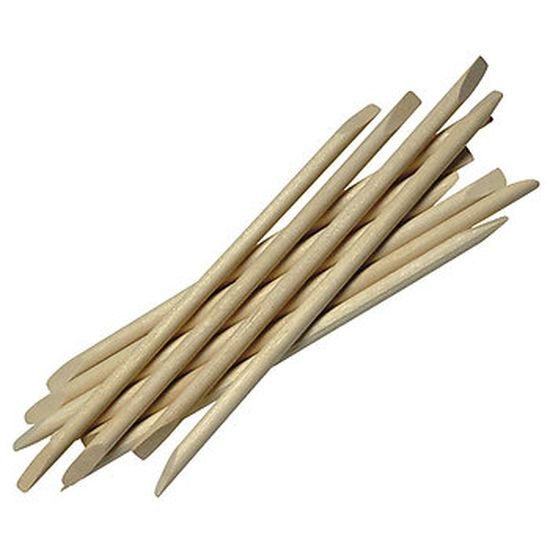
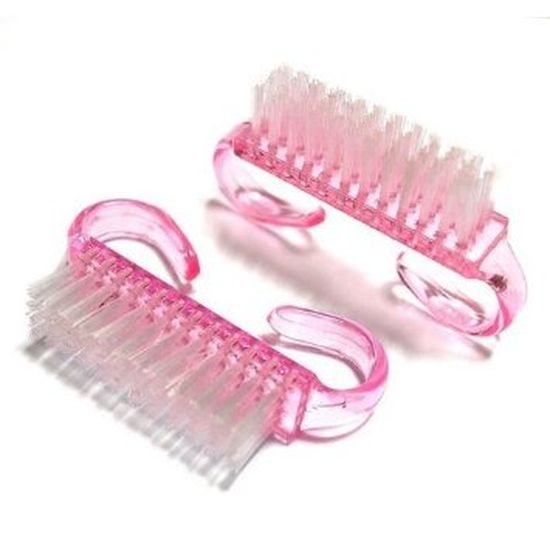
Auxiliary tools. In addition to the basic tools have in your set of brushes to remove from under the nails of pollution; orange sticks, means for removing varnish.
Choose a beautiful shape for nails
Before you pick up a file, decide on the desired shape. In addition to your preferences, pay attention to the length and shape of the fingers, as well as the condition of the nail itself. Well, of course, no one has canceled fashion trends.
There are 6 main forms. Here they are:
- Round. The nail has the shape of a crescent, the length is short.
- Oval. Length - medium. The free edge has an oblong and rounded shape. This option is suitable for those who want to visually extend their fingers and make them thinner.
- Almond-shaped. This shape looks very oval, but the tip of the nail is slightly pointed.
- Square. The free edge must not have rounded edges, the corners are straight. If you have brittle nails, then this option is ideal.
- Square with rounded corners or "soft square". It differs from the square in that the corners are slightly rounded.
- Pointed or stylet shape. A kind of tribute to the fashion of recent seasons. The nails should be long, and the free edge - strongly pointed.
How to shape your nails at home, master class with a photo
We offer step-by-step instructions on how to create the desired shape at home. Remember that you can file only dry nails, after removing the remnants of varnish and removing excess length.
Oval shape
Step 1: Find the middle of the cuticle line and from it mentally draw the perpendicular up. The "halves" of the oval on both sides must be a mirror image of each other.
Step 2: Take a medium-sized nail file. Give the nail an oval shape. Movements are made from sides to the center.
Step 3: Round the middle of the free edge.
Step 4: Check that the two halves of the nail are identical to each other.
Square shape
Step 1: Take a file of medium hardness. While holding it parallel to the nail plate, sculpt the sides at a slight angle.
Step 2: Hold the saw blade perpendicular to the nail. We file the top, movements must be small and in one direction. We do not make roundings, the free edge remains flat.
Step 3: Lightly round the corners (remove the sharpness). If you chose a "soft square", then the rounding becomes more pronounced.
For more information on how to give the nails a square shape, see the video tutorial.
Pointed shape
Step 1: Check that the length of the free edge of the nail is sufficient for a pointed shape. It should be at least 2-2.5 cm.
Step 2: Determine the center of the free edge. This will be the tip of the nail.
Step 3: Sew the sides so that you have a very sharp top.
Step 4: Lightly round the top point.
How to shape your nails at home, video
After you have given the nails a shape, make sure that they all look the same. Do not forget to wash your hands thoroughly and use a special brush to remove dust. After this, you can proceed to remove the cuticle in edged or European fashion.