For work you need:
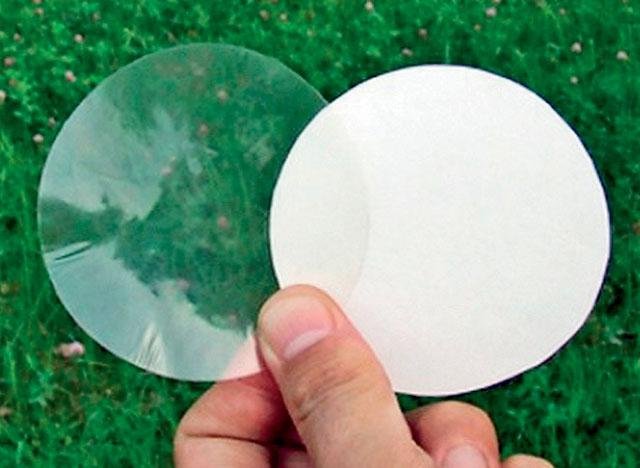
- Transparent paper (white paper)
- Cardboard (10 * 10, 60 * 30, 11 * 11, 12 * 12, 15 * 15)
- Stationery knife
- Ruler
- Pencil
- Paper with patterns 25 * 25 (blue), red
- Adhesive moment (pva)
- Marker red
- Border with a pattern around the edges
- Liquid pearls (can be replaced with liquid sequins)
- Bant of tape
Step-by-step instruction:
Let's get to work. Take transparent paper (or an ordinary sheet of white paper) and draw our bell. After we have finished on a white cardboard in the size of 10 cm * 10cm (you can take more or less-depending on the size of the postcard you create) we overlay our drawing. If you took a transparent paper, it will be more visible, and you can watch how the cardboard is cut through, if you took white paper, then for the exact result, press the knife more strongly in the next step. We proceed to cutting our figure on the cardboard. We conduct by our clerical knife on a contour of the drawn bell. Then get rid of the unnecessary interiors of the bell, leaving the base, as in the picture below.
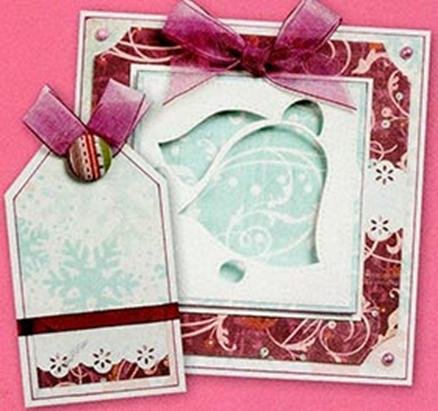
We take already a large cardboard for the postcard (we took 64 * 34). We fold our cardboard in half, open it. Using a ruler and a pencil, we draw on the left side an octagon (its size will be 10 * 10, our carved bell must fit completely into this octagon), cut it out with a stationery knife. We pass to the right inner part of the postcard. Paper beautiful sky color with white patterns decorate our postcard. Glue PVA we put on the whole of the wrong side of the paper evenly and glued to the right side of the product, receding from all sides equal intervals.
Cut from the same blue patterned paper one more square (16 * 16). And paste on the front. Then we move on to making the volume of our magnificent hand-made articles. Cut out 4 more squares from white cardboard, they will be of different sizes (11 * 11, 12 * 12, 15 * 15). Using the octagon cut out earlier, we do the same with each square. Use the octagon as a template and cut through each square of it.
We take the largest square (15 * 15) and glue the patterned red paper on it or we will show our creativity and draw the patterns themselves with a red marker. Make beautiful the corners of our luxurious square (at each corner we make a rounded cut). Then we take a border with patterns on the edges. We paste it on the PVA glue (or the moment) on our decorated square. On the right and left side of the stripes. We glue our workpiece very first on the front of the postcard. When gluing our octagons should completely coincide.
After gluing our colorful square, we take a red marker and circle our contour with a ruler our blue square on the front of the postcard (as if framing it). Now back to our squares (there are 2 more). We glue on top of our largest square first figure 11 * 11, then 12 * 12. Our volume is almost complete. Remained the last, made in the very beginning a square with a bell. We paste it on top of all so that our octagon is not noticeable behind the bell.
In the end we turn to jewelry. You can add either liquid pearls in each edge of the postcard, or liquid glitters (at your discretion). Upstairs we paste a bow from a purple ribbon.
Our unusual and voluminous postcard is ready! It remains to write your warm wishes inside and you can please her with your family and friends!