- If your jacket is made of leather, suede, sheepskin coat, it is more reasonable to give it to the atelier. The fact is that to work on such an invoice you need special sewing equipment, otherwise the risk of spoiling the thing is too great. If the jacket is made of textiles or from artificial materials (not counting a very thick leatherette), then it is quite possible to sew it yourself.
- If your jacket is great for you more than 2 sizes, then it will not be sewn neatly, you need a complete re-design. In this case, it is worth considering the option of buying a new thing.
In order to determine the scale of the work, during the fitting, pay attention to the following moments in the planting:
- Landing of the shoulder and armhole arm. Ideally, if you do not have to touch this zone - because you will have to cut out the head of the sleeve again when planting the sleeve. This is possible if you have a sewing experience.
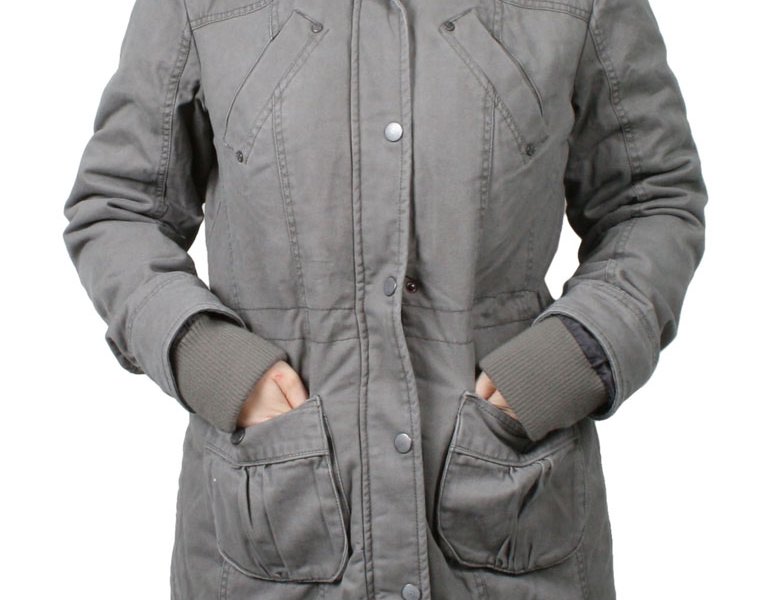
- Fitting the product at the waist. This is the most common option that you can do yourself. It is realized through the lateral seam of two sides or the adjustment of the bend of the back.
In order to catch a jacket 1-2 sizes across the waist and back, it is necessary to sweep the contour of the seam with the stitch of the seam with the stitching needle.
Then podporot inside the jacket hem (in order to get to the seam of the back and sides). We shall mark with a chalk the line on which we cover the jacket of the inner side. Then choose the width of the stitch on the typewriter (as a rule, 3.5-4.5 mm), we spend on the intended line. If the thickness of the seam is not large, then cut the edge is not worth it. Those rehashing to do with the lining, then try on. Then take out the notch and sew the edge of the lining with a hidden seam.
If in addition to the waist and back, the jacket is large in length and sleeves, then you need to cut the seam on the sleeve that connects it with the cuff. After this, measure the length of the "stock" on the hem. Usually it is 1.5-3 cm. We measure the ruler as much as necessary to shorten the cuffs. After this we measure off the edge of the sleeve of the 2nd line: the line that will become the new edge of the sleeve and from it also the allowances for the seams. Still we check up correctness of calculations by a ruler - the size of a cut is equal to the measured difference a minus a hem. We cut off, for the same length we shorten the lining. We connect the hose and the lining, combining the seams and leveling the slices. If necessary, we make a stitch, we smooth the resulting seam.
By a similar scheme, we shorten the bottom. We are planning 2 working lines, we cut the fabric, we cut the lining. Then we design the hem. We set off along the edge, we sew the top with a hidden seam. We smooth. Then we sew the lining secretly, combining the lines of the side seams. It must be remembered that the support should hang slightly for a free fit.
The most difficult case is if the sleeve is hurled .
If the visual sleeve of the sleeve is large by 1-1.5 cm, then the problem can be solved with shoulders. If the shoulder pads have not solved the problem, then it is necessary to "plant" the sleeve again. If you are a beginner seamstress and have not sewed jackets or jackets, it is better to contact the atelier. If there is an experience, then you can use a pattern according to the jacket model (usually a sleeve).
Then you have to flog your sleeve, open the side seam, apply a new templar sleeves. Circle, cut along the contour. Identify a new armhole on the wrapper according to the adjusted lateral seam. Stretch the new side suture jacket, then stitch the side seam on the lining of the sleeve and the sleeve itself. Mark the chalk markers to fit the sleeves on the head, side, perenistimetki to the armhole. Screw the sleeve head to the armhole along the basting lines. Proceed with the notation, paying attention to the fact that the head of the sleeve should not wrinkle. Remove the sleeve, heal the lining, leaving a place for the eversion of the sleeve is obvious. Then sew the rest of the seam.
Do not try to plant a sleeve without a pattern on your own-if the sleeves are not properly seated, then there may be defects in the form of a sleeve, excess folds, etc. If there is no necessary pattern, you can use an old jacket of your size. To do this, you need to independently identify the desired points in the planting of the sleeve (preferably not with chalk, but with a thread), after which you must slit an unnecessary jacket, iron the seams and cut a new sleeve over it.