The term Tilda denotes a variety of handmade toys and some other handicraft items created by the Norwegian author Tone Finanger. Her books have recently become very popular, but, unfortunately, have not yet been translated into Russian.
Perhaps, many needleworkers well know flying seals, sleepy angels, rabbits in Panama, coffee bears, snails on wheels, guardian angels, Easter hares, etc. At first glance it may seem that these toys are different, however, they have a similarity: they are similar small black eyes, and a characteristic blush, and manufacturing techniques. These toys in our country are gaining popularity, so many needlewomen want to know how to sew a doll to Tilde.
For the manufacture of Tilda's body, Russian masters advise using such natural fabrics as wool, cotton, linen or coarse calico. Some recommend that you use spandex to make toys. Foreign masters use special material, which we can order only through the online store.
To create clothing Tildo-toys suitable materials such as knitwear, coarse calico, chamois, chintz, jeans, tulle, fleece, silk and others. It is believed that the best fabric is fine fabric. It does not really matter what kind of fabric it is: in a cage, in a strip, in a flower, with a divorce or with an abstract design. Templates of the necessary patterns can be found on the Internet. Masters for making toys use sewing machines or sew manually.
Often toy-tildes are made with a seam in the middle, therefore it is necessary to sew very carefully the face of the doll. Before you unscrew the tissue near the nozzle, it must be incised, so that it is 1-2 mm to the seam.
Sometimes the masters make out the body of the Tildo-doll together with the details of the dress. To do so, the fabric that goes to the body and fabric intended for the dress is stitched and then ironed.
Next, you need to cut out the details (the seam line must necessarily be aligned with the line on the pattern). To the legs of the dolls bend, they must be sewn at the level of the knees. The legs are stitched, twisted and stuffed, leaving a little space near the mark, stitched and re-stuffed almost to the very end.
If the doll "should" sit, it should be remembered that the legs in the hip area should be stuffed tightly, when they can easily bend. After you have finished stuffing the legs, the unshielded parts can be sewn using a hidden seam (small stitches done along the edge of the joints, as if inside)
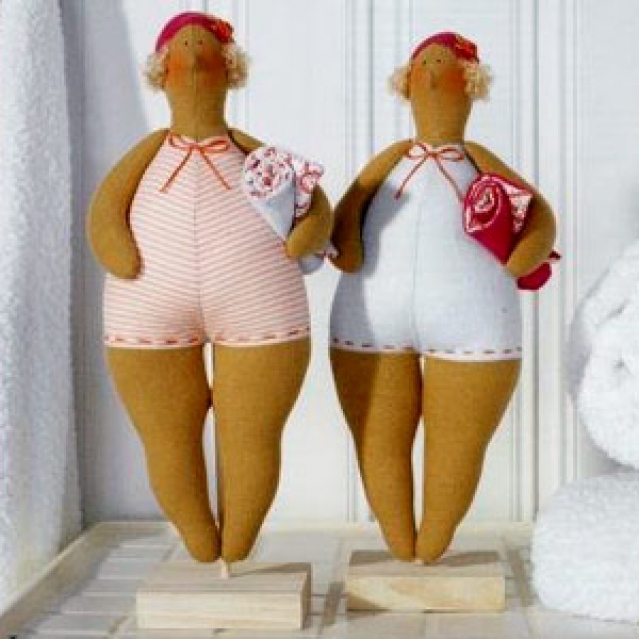
For a doll's body, one should not choose white fabrics, because for Tilda, a beautiful tan is characteristic. But even if you have only white cloth at your disposal, it's okay! It's enough just to paint it in the right color and then sew a toy.
Dyes are usually soluble coffee or tea leaves. To make a coloring solution, you need to take 40-55 grams of instant coffee (you can get the cheapest), a tablespoon of salt per liter of water. The tissue should be placed in the solution, stir for about 20 minutes, then rinse the tissue in cold water, gently squeeze and hang it in one edge, without bending, so that it is dried. The color should turn out to be gentle.
Sometimes they do the opposite: sew a toy, and then paint. To do this, make a solution of five teaspoons of tea for half a cup of water with the addition of PVA glue for fixing.
Stuffed toys, as a rule, hollofayberom or sinteponom.
For the manufacture of hair Tildes are advised to use yarn type "Plush". Thanks to this yarn, the hairstyle looks disheveled, which is typical for all such dolls. A variety of ways to create hairstyles for Tildo dolls can be found in the books Tone Finanger.
Often such dolls are flavored. In the filling add jasmine, lavender, basil (and other pleasantly smelling herbs), as well as vanillin or cinnamon. Sometimes put already ready sachets-sachets. Also for the fragrance, you can moisten the toy and rub it with spices.
As the eyes sew beads or perform their embroidery floss. You can also color your eyes with acrylic paints for the fabric. The blush inherent in Tilde is created with the help of loose blush or acrylic paints. You can also use pencils: scratch the lead with a blade and then shade with a cotton swab.