Make an album for your photos yourself
In order to create an original photo album with your own hands, you need to stock up on the necessary tools, materials, imagination and a bit of free time.
Prepare:
- Sheets of thick paper. The number depends on how many pages will be in the future photo album.
- Thick cardboard - 2 sheets. You can take a beautiful design cardboard.
- Color plain paper or with drawings.
- The tape. It will be enough half a meter, at least 6 mm wide.
- Hole puncher
- PVA glue
- Multiple Binders
- Scissors
- Ruler
Once you have prepared all the tools, you can start working. Step-by-step master class with photo:
- You need to cut the cardboard sheets so that they become the same size as the future pages of the album. After that, on each of them using a ruler and a pencil draw two lines. They should be vertical and be at a distance of 2.5 cm from the left edge and 3.5 cm from the same left edge.
- Now cut the strips you drew from each sheet.
- The cover will be decorated with colored paper. To do this you need to take two sheets of colored paper, which should be four centimeters wider and longer than the sheets that will later become pages of the book. Place one sheet of colored paper with the inside facing up and draw a square. Each side of it should be located 2 centimeters from each edge.
- Now you need glue. Using it, glue the colored paper to the cardboard. Its edges should be clearly aligned with the lines you drew earlier. In order to do this it is nice to apply glue on the entire surface of the paper, if it seems too thin to you, put it on the cardboard.
- Gently wrap the corners of colored paper and also carefully glue them.
- At this stage, you need to make the inside of the cover. To do this, take the colored paper and make two segments, which should be one and a half centimeters shorter than the future pages of the photo album. Glue these pieces from the inside to the cardboard.
- Now you need to collect a photo album. Fold all its parts: two covers, sheets. Align them and bind them with a binder. Take the punch hole and make two holes. One of them should be located at a distance of 4 centimeters from the bottom, the second - from the top.
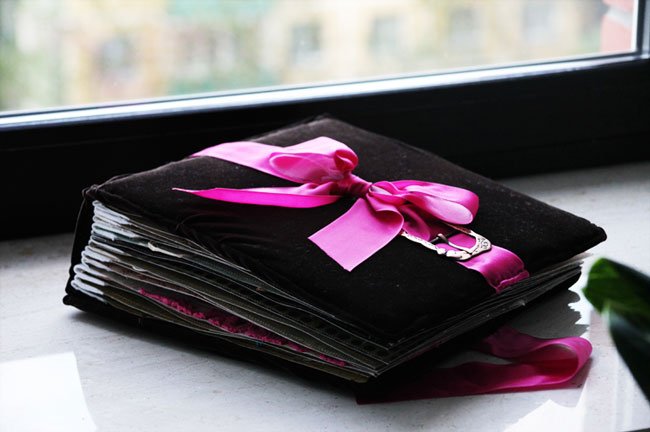
- Take the tape and pull it through the holes. This way you can hold the album together.
That's all, the album is ready and you can safely paste in it your family photos. As you can see, the process is not at all complicated, and the result will completely satisfy you. Similarly, you can arrange a children's album with your own hands, an album for a wedding, as a gift to family and friends. Depending on the purpose, show imagination and create a unique design for each of them.