How to properly make a herbarium with your own hands - master class with a photo
As a basis for a herbarium, albums or notebooks usually use A4, A5 or a cardboard format. In this master class, a step-by-step instruction on making a herbarium on sheets of album format is presented. The herbarium presented here is called "Medicinal Plants in the Central Russia". You can choose any other topics, for example, "Our rest at the sea: seaside flora", "Departure to the forest: what blossoms in August" and so on.
On a note! To collect specimens, choose a dry, sunny day. The probability of molding and fungal damage to your exhibits collected in rainy weather is 95%.
How to collect plants for herbarium
Tools for the collection of plants:
- Narrow soviet shoulder blade (if you want to get a plant with a root system)
- Small nail scissors
- Garden pruner
- A container for transporting specimens (you can use a woven rectangular basket)
- A small jar (50 g) with garden wine or clay diluted with water to a mushy state
- Old newspapers
Tip: Before you go to the "hunt", first study the features of the root system of selected plants, so that unexpectedly for you a small blue flower did not have roots a foot and a half deep.
Step-by-step instruction:
- Leaves and flower heads cut with manicure scissors, put in a container, laying newspapers.
- Cut the large branches with a pruner, covering the places with a garden sauce or clay. (This procedure is very important if children are with you, they should see that we do not come to nature as barbarians, and even if we take something from it, we take care that the nature has enough strength to recover).
- Dig up better those plants that do not have a very powerful root system. We dig from four sides at a distance of 4-5 cm from the base, raise the ground and pull out together with the turf. We carefully discourage, clean the lumps of earth, put it on a newspaper, put it in a container.
An example of how to properly dig a plant is presented in a video.
Advice: try not to dig out rare, unique plants!
How to dry plants properly
Necessary materials:
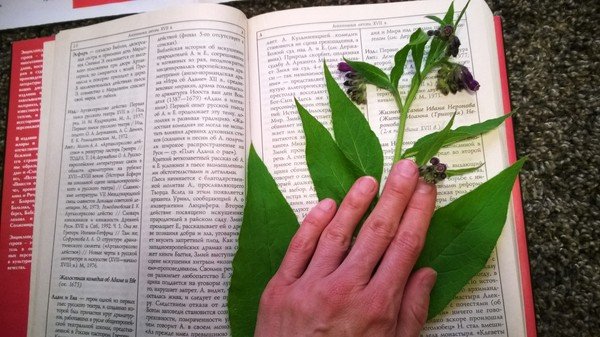
- Thick old book - 1 pc.
- Cardboard is dense - 2 sheets
- Baking tray - 1 pc.
- Glass with water
- Presses, irons
Step-by-step instruction:
- Spread all the collected plants on newspapers. Consider them again carefully: if somewhere there is a darkened, insect-eaten element - remove it.
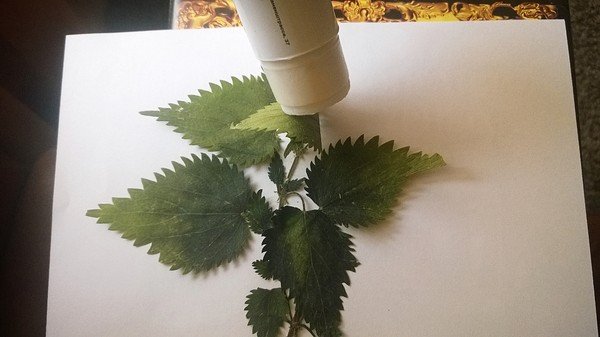
- Plant the plant on the page, as you see fit. Thin leaves, so that they do not slide off, glue them to the pages of the book, lightly moistening them with water.
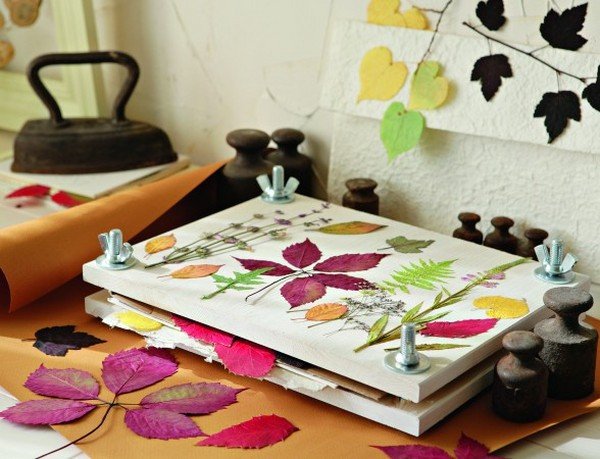
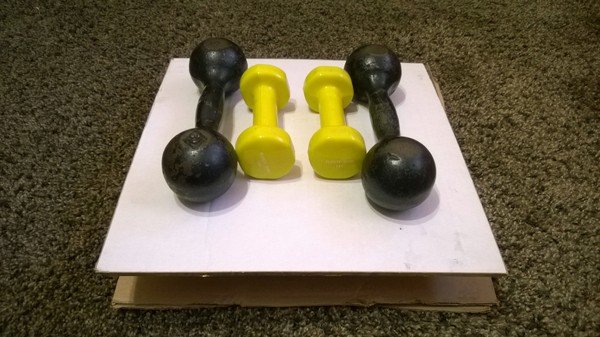
- Put the book with the plants between the cardboard sheets, top cover with a baking sheet and lay dumbbells. Plant dry, usually a week or 10 days. In this case, every day during the first 5 days of drying, transfer the plant material to dry pages. The plant's readiness for use in the herbarium is determined by its appearance: if it does not bend and keeps the form, then it's ready.
Note: there are other ways to dry the natural material: in a microwave or oven, using hydrogen peroxide. These methods accelerate the drying process, but at the same time the specimens are deformed, darken or acquire an unnatural color. By the way, it is sometimes possible to read such information that the book, supposedly after the plants dried in it, becomes unusable - it becomes soaked and loses its shape. This is not true! If the plants were collected on a dry day, then nothing terrible will happen to the book.
How to make a herbarium with your own hands
Necessary materials:
- Sheets of white cardboard А 4 - 10 pcs. (by the number of plants)
- Album sheets A 4 - 10 pcs.
- Strips of corrugated color cardboard length - 12 cm, width - 4 cm - 10 pcs.
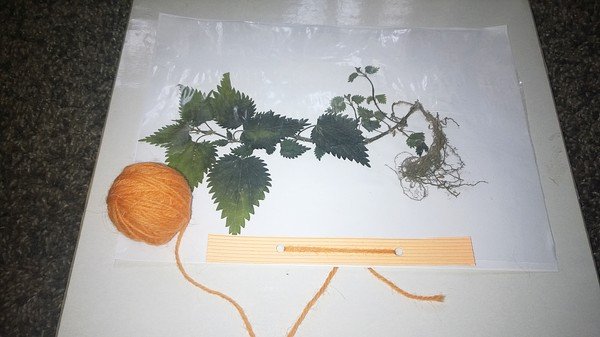
- Transparent files - 5 pcs. (or A4-size tracing paper - 10 pcs.)
- Puncher, scissors, PVA glue, twine or tight thread, sewing needle with thread, bright felt-tip pen.
Step-by-step instruction:
-
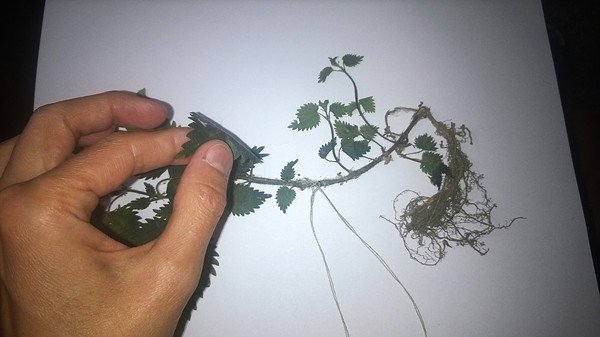
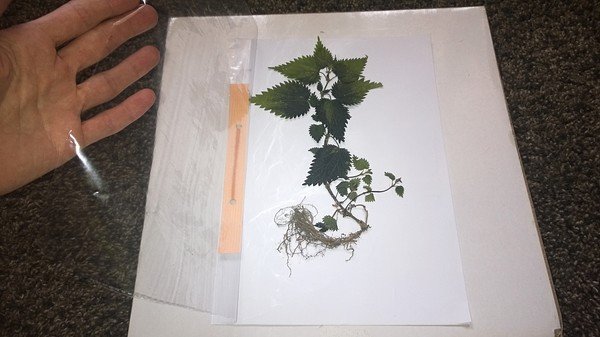
The dried plant is laid out on a landscape sheet, we fix it on the stem or on the stalk with a needle and thread, making literally 2-3 stitches. If it is a large species, then we fix it in several places; if this is a single leaf, then glue the sheet plate with PVA glue. Thread the mask, paint it with a felt-tip pen of the appropriate color. -
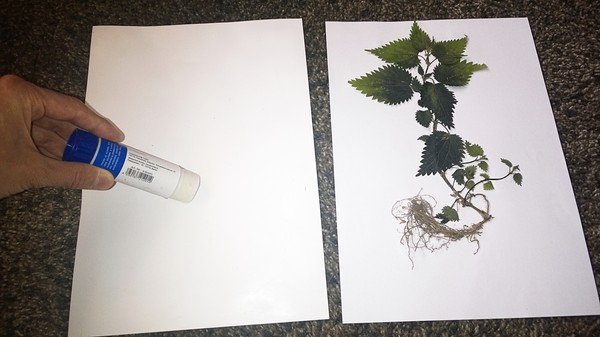
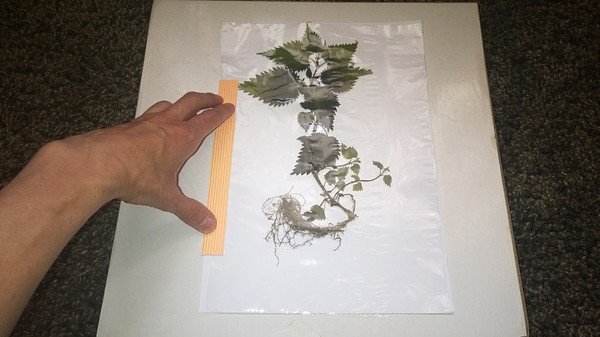
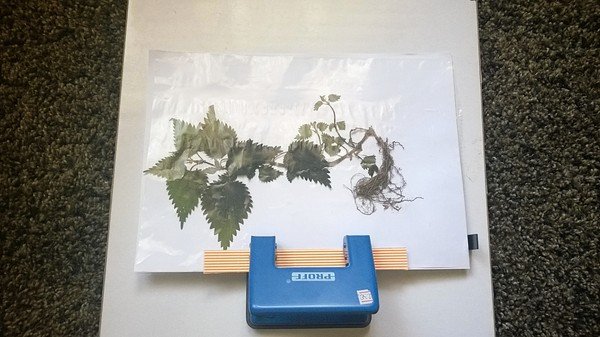
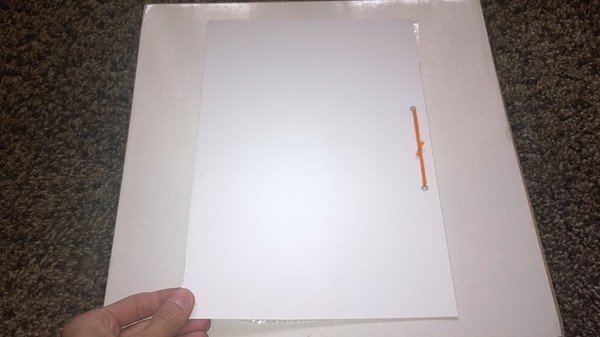
The leaves of the cardboard are smeared with glue and glued on them album sheets with dried plants. Gently press down, trying not to damage the elements. - Transparent files are cut into two parts, we put one part on top of the plant, from the side we apply a strip of corrugated cardboard and break all this "sandwich" with a punch. In the holes we insert the string (cord, thread), tighten, fix it. So we do with all the other sheets of the herbarium.
- In the lower right corner of each sheet we make an inscription in which we indicate information about the plant presented: name, quality, place and time of collection. This "nameplate" can be made in advance, for example, printed on a computer and glued, you can write simply by hand. If desired, you can specify the names of parts of the plant or a prescription for the manufacture of medicinal products from it (if possible).
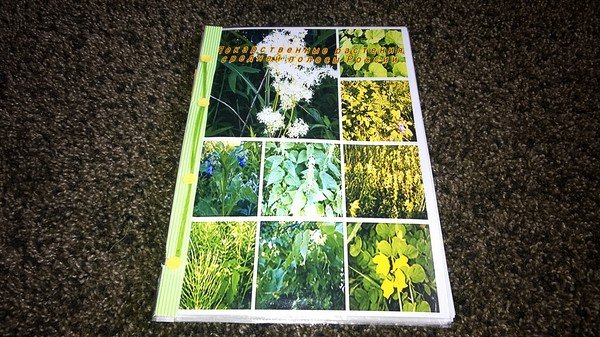
- Now it remains to collect all the leaves in the album and make a title page. How it will look is a matter of your imagination. Or use the example provided. To do this, you must first take a photo of the places where the plants were collected, compose a collage from them in a special photo editor, write the name of the herbarium and print it on a color printer.
The idea: a herbarium can be combined with a photo album, if on the back page of each leaf with a dry plant, you attach your photos taken during the collection.
- On each sheet, including the title page, we make notes for fastening and punch these places with a punch. Sew the sheets into the album, do if you want a bow or do not clean the places of binding the ends of the string. The herbarium is ready.
As you can see, making a herbarium with your own hands is an easy job and even young schoolchildren can do. Keep the herbalist in a dry place, preferably on the upper shelves, in a horizontal position.