- beautiful and rather thick paper: 2 sheets;
- scissors;
- pencil and ruler.
Origami box - step by step instruction
- First, it is necessary to carefully fold the sheet in half, outward from the outside and work out the fold well.
Note! For convenience, you can use a special plastic stack or similar device.
- Then, unbend the sheet and add the opposite sides to get a kind of markup in the form of four squares.
- Similar procedures are done, bending the workpiece twice diagonally. After the performed manipulations the following should turn out.
- Now gently bend the corners to the middle.
- The resulting figure is folded again, as in the video.
- We get markup, with which we begin to fold the box.
- The workpiece is folded along, combining the sides. We connect the edges. gently bending them.
The process is clearly shown in the video.
- If everything is done correctly, the edges will hide, and the walls will rise.
Thus, we will do the opposite part of the origami box.
- We carefully work out the places of folds, so that the workpiece has acquired the completed form.
- Repeat the above steps, carrying out the lid of the box from the second sheet of paper. We get the second detail.
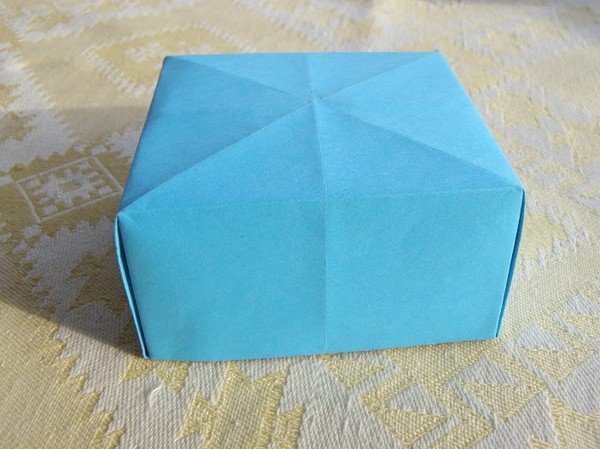
An uncomplicated hand-crafted article is ready. If desired, you can strengthen the bottom with an additional piece of paper.
Handicrafts made by themselves give joy and help to spend an interesting time. Such items are interesting to put up with children - it develops small motor skills and strengthens relationships.